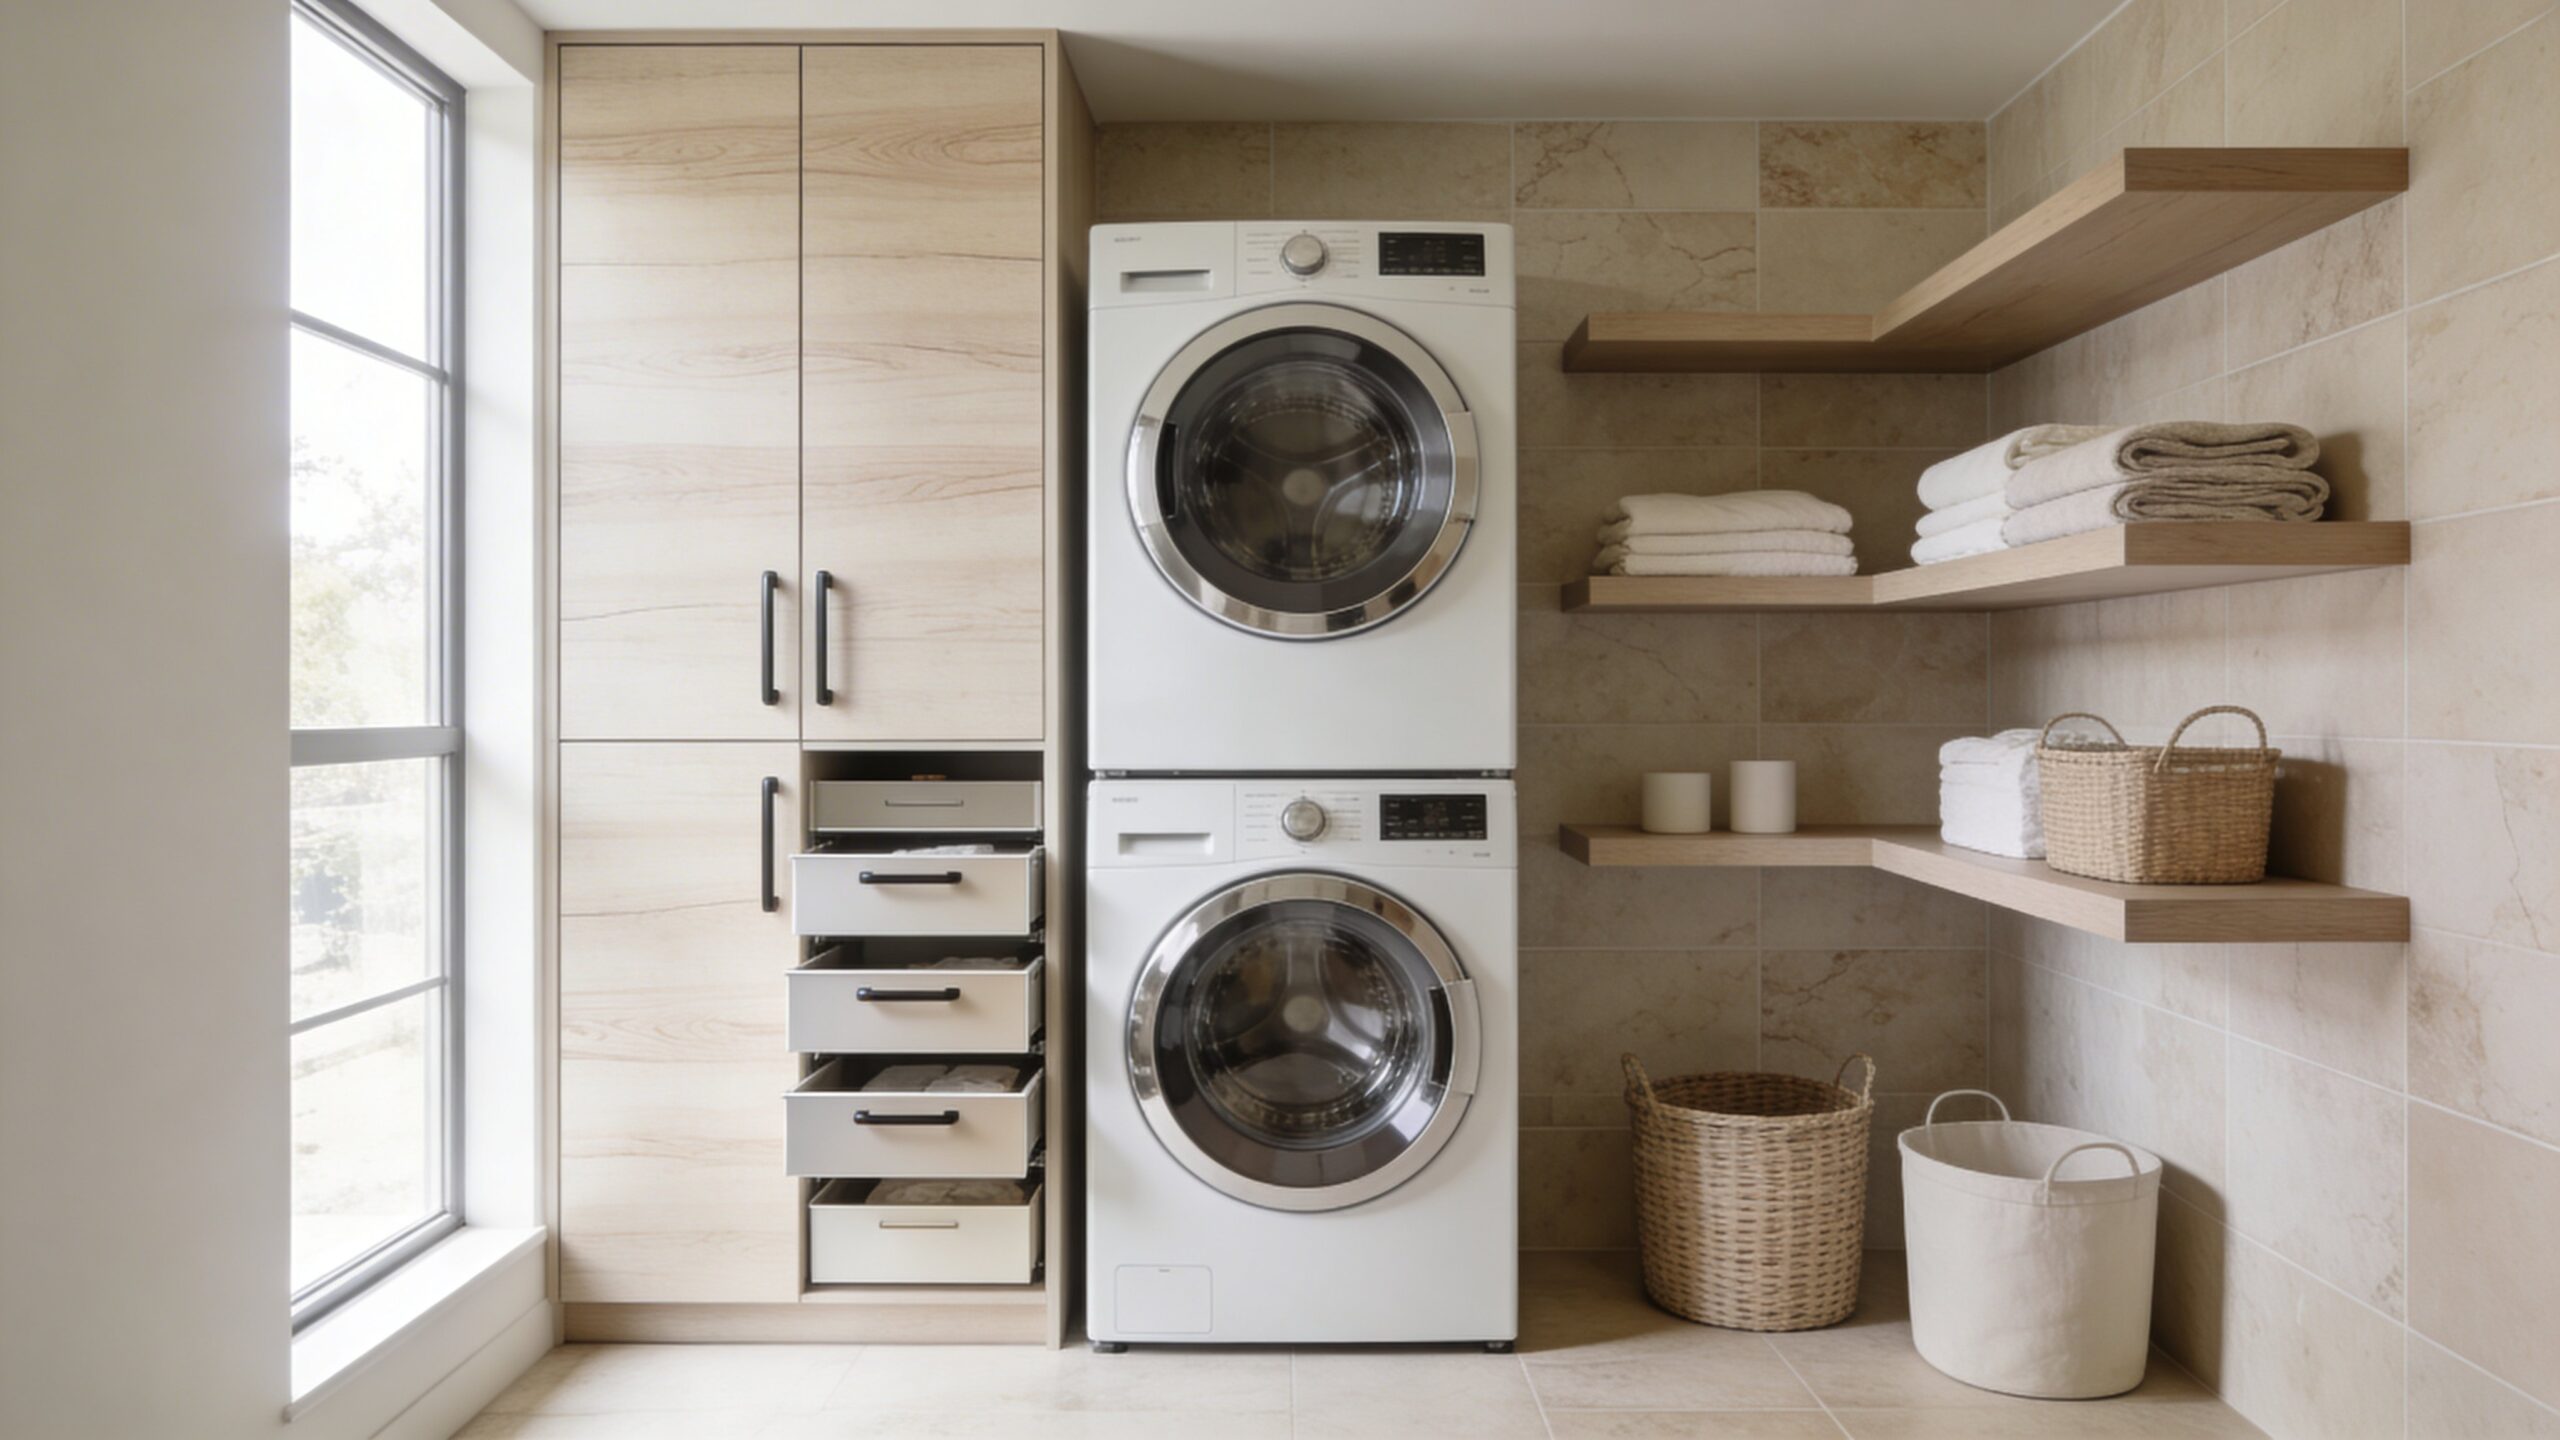
A High-End Backsplash Is Defined at Its Edges
A laundry backsplash protects the wall from sink splashes, stain products, detergent residue, and repeated wiping, but its visual success depends on more than an attractive tile. The layout must relate to cabinets, counters, outlets, faucet penetrations, windows, and the point where the material stops. Awkward slivers or an arbitrary unfinished edge can undermine an expensive surface, while an affordable tile installed with balanced cuts and disciplined grout can look tailored. Modern design often favors broad quiet fields, subtle texture, and clean transitions, yet the appropriate material and height come from exposure. A sink wall may warrant full-height protection; a dry folding counter may need only a short upstand. Plan the entire elevation before ordering so performance and proportion arrive together.
A: Base height on actual splash exposure and terminate it at deliberate architectural boundaries.
A: No. It offers strong protection and continuity where useful, while dry counters may need much less.
A: Related grout creates a quiet field; contrast emphasizes pattern and demands highly accurate layout.
A: Yes when slab weight, seams, templates, penetrations, mounting, and repair requirements are coordinated.
A: Their variation should be reviewed and distributed intentionally before installation.
A: Use a compatible glazed edge, profile, return, or trim selected before the field tile is ordered.
A: Yes with planned structural backing, correct drilling, sealed penetrations, and load-appropriate hardware.
A: It reflects small intense fixtures and diodes, making lighting position and shielding important.
A: Consider the sink, cabinets, outlets, and exposed ends together rather than following one centerline automatically.
A: Balanced cuts, flat installation, precise joints, clean edges, and disciplined material boundaries.
Define the Actual Splash Zone
Observe faucet reach, basin depth, bucket filling, handwashing, and stain treatment. Mark where water and products realistically reach. Protect that zone first rather than assuming every wall needs the same material.
Consider cleaning frequency and chemical exposure. A porous or highly textured surface near active treatment may demand more care than the household wants.
Set Material Limits From Architecture
Terminate a backsplash at an upper cabinet, corner, window casing, niche, or aligned cabinet side. If no natural edge exists, create one through a finished profile or a clearly composed panel width.
A short backsplash should maintain a consistent top line unless architecture provides a reason to step. Full-height material can unify a sink wall and reduce painted areas that require wiping.
Draw all boundaries on an elevation. The most visible failure often occurs where the chosen inspiration image did not show an exposed end.
Use Ceramic Tile for Flexible Scale
Ceramic tile offers wide choice in size, glaze, texture, and cost. Confirm suitability for the location and expected cleaning. Handmade-look variation can add depth, but inspect shade range and distribute pieces intentionally.
Choose Porcelain for Dense Surface Performance
Porcelain tile can offer strong surface durability and low absorption, including convincing stone or concrete looks. Large formats reduce joints but require flat walls, suitable handling, and careful cuts around outlets.
Product category does not replace installation details. Substrate, adhesive, grout, movement accommodation, and edge treatment determine the completed assembly.
Consider Slab Backsplashes for Visual Continuity
Continuing counter material up the wall creates few joints and a calm field. Quartz, porcelain, solid surface, stone, and other slabs have different seam, heat, chemical, thickness, mounting, and repair requirements.
Coordinate templates after cabinetry and counter positions are verified. Faucet holes, outlets, and wall irregularities can make late changes costly.
A short slab upstand can provide modest protection with less material, while full height creates a stronger architectural statement. Choose from exposure and proportion.
Use Small Tile Without Creating Visual Static
Mosaics and narrow formats can follow irregular surfaces and introduce fine texture, but many grout joints increase maintenance and pattern. Use them in a defined sink niche or controlled panel rather than automatically across every wall.
Test the pattern behind bottles, rails, and shelves. A lively mosaic may lose clarity when the elevation already contains many objects.
Plan Grout Color as a Design Decision
Contrasting grout outlines every tile and emphasizes layout accuracy. Related grout creates a quieter field and may suit material variation. Neither choice is maintenance-free.
Review grout type, stain resistance, cleaning guidance, joint width, and curing with the installer. Mock up several pieces because a color stick does not show the completed proportion.
Coordinate sealant at changes of plane and material transitions. It may not match grout exactly, so approve it as part of the palette.
Align Tile With Cabinets and Openings
Start layout from the most visible relationships rather than blindly centering the wall. A full or balanced cut at a cabinet side, window, or sink centerline may matter more than symmetry across hidden areas.
Mark outlets and switches on the drawing. Small shifts, where permitted and coordinated early, can prevent tiny tile fragments or plates crossing grout lines.
Detail Exposed Ends Deliberately
Use glazed edges, metal profiles, stone returns, wood trim, or another compatible finish. The choice should relate to nearby hardware and withstand cleaning. Do not leave raw tile bodies or adhesive visible.
At outside corners, compare mitered, profiled, and overlapping solutions for durability and installer capability. A precise simple edge usually feels more luxurious than a complicated improvised one.
Keep trim thickness coordinated with tile so it does not stand proud or create a ledge for residue.
Integrate Shelves and Rails Before Tiling
Map every bracket, cleat, fastener, and penetration on the elevation before setting the tile grid. Structural backing belongs in the wall at the required heights, while waterproofing or moisture-management details must remain continuous where applicable. Coordinate bracket plates with joint locations so installers are not forced to drill near a fragile tile edge or widen a grout joint to hide an error. Keep mounting templates with the project documents.
If a shelf, rail, or cabinet may be removed later, decide how the exposed holes and unfinished areas will be handled. A backsplash that continues behind removable elements offers flexibility, while tile that stops around them may save material but locks the composition to exact hardware. Seal penetrations using methods compatible with the assembly, and verify loads before hanging wet garments or heavy supplies.
Add structural blocking and locate fasteners before the wall closes. Drilling finished tile can be successful with correct methods, but precise backing reduces risk and supports real loads.
Align shelf edges or brackets with the tile grid where practical. Keep penetrations sealed appropriately and hardware corrosion-resistant.
Control Glare and Texture With Lighting
Raking light reveals relief and irregular glaze, which can be beautiful or distracting. Glossy tile may reflect individual diodes or under-cabinet sources. Test samples vertically under the proposed fixtures.
Shield task lights and keep color temperature consistent. A textured backsplash should remain easy to inspect and wipe even when shadows add depth.
Prepare the Wall Properly
Repair moisture damage, correct active leaks, and flatten the substrate to the tolerance required by the selected material. Do not use tile to bridge failing drywall or disguise plumbing problems.
Coordinate backing, waterproofing where required, primers, and adhesives as a compatible system. Qualified installation is particularly important with large slab or heavy tile.
Photograph services and blocking before the finish covers them. Keep spare tile, grout, sealant, and product records for future access repairs.
Balance the Backsplash With the Room
If cabinets or flooring carry strong color, a quiet backsplash can provide relief. If the room is restrained, subtle glaze variation or veining can become the primary texture. Avoid asking counter, tile, wallpaper, and decor to lead simultaneously.
View the complete elevation from the doorway and normal working position. High-end results come from hierarchy and alignment, not material price alone.
Inspect the Finished Installation in Useful Light
Check joints, edges, sealant, penetrations, lippage, chipped pieces, and transitions before closeout. View raking light as well as diffuse daylight. Confirm outlets sit securely and shelf hardware is stable.
Follow curing guidance before washing or exposing the surface to heavy moisture. Use approved cleaners and repair failed sealant promptly.
A refined backsplash protects the hard-working wall while organizing the elevation. Thoughtful limits, balanced cuts, controlled grout, and clean edges produce the high-end finish that homeowners notice even when they cannot name every detail.
Use Pattern to Correct the Room’s Proportions
Horizontal joints can make a narrow wall appear longer, while vertical orientation may emphasize ceiling height or a stacked appliance tower. Large units reduce joint density but can produce awkward cuts around outlets and cabinet ends. Small units adapt to interruptions yet create a busier field. Draft the full elevation with actual dimensions before choosing orientation; a pattern should organize the architecture rather than merely follow a trend.
Treat Outlets and Controls as Part of the Elevation
Confirm device locations, box depths, cover sizes, required clearances, and applicable electrical rules before tile begins. Centering every outlet in a tile is not always possible or desirable, but slivers and partial cuts can often be avoided by adjusting the layout within tolerances. Device extenders and installation methods must be appropriate, and electrical work should be completed by qualified trades.
Select cover plates in relation to grout, tile, hardware, and wall color. Matching plates can recede; contrasting metal can repeat cabinet hardware if the finish is durable and coordinated. Keep controls reachable and visible enough to use. Do not hide shutoffs, reset devices, or required access behind decorative panels simply to preserve an uninterrupted photograph.
Coordinate Stone Variation Before Fabrication
Natural stone and stone-look slabs can carry strong movement across a relatively small wall. Review the actual pieces, not only a sample, and mark the preferred crop around sinks, shelves, and corners. Decide whether veins should continue through returns or align across seams. Confirm sealing, stain sensitivity, cleaning limits, edge treatment, and support with the supplier. Beautiful variation appears intentional when the most prominent lines reinforce the room rather than collide with cabinets or disappear behind equipment.
Protect the Installation During Project Closeout
Backsplashes are vulnerable while shelves, plumbing trim, appliances, and accessories are installed. Use non-staining protection that does not trap moisture against uncured grout or adhesive. Prohibit casual drilling until concealed backing, utilities, and approved fastener zones are reviewed. Photograph the finished wall before accessories cover joints and penetrations.
At handoff, remove haze using the manufacturer’s method, inspect corners and sealant transitions, test outlets and controls, and confirm shelves and rails are secure. Record tile, grout, sealant, trim, and sealer products, including colors and batch information. Store a few clean replacement pieces where they will not be damaged. This closeout discipline preserves a precise finish and makes a future repair less likely to introduce a visibly mismatched patch. Evaluate the completed backsplash from the doorway, the folding position, and directly in front of the sink. Daylight, under-cabinet light, and evening ambient light can reveal different lippage, waviness, gloss, and grout variation. Minor handmade variation may be intentional, while abrupt joint changes, chipped edges, smeared sealant, or poorly centered penetrations usually are not. Review workmanship against the selected material’s accepted characteristics and the installation agreement before approving completion. Then test ordinary use: set down a detergent cap, splash water near the sink, wipe lint from the surface, and operate any mounted rail. The high-end impression should survive cleaning and contact, not depend on untouched styling. Choose a maintenance approach that respects the whole assembly. Tile, stone, grout, metal trim, sealant, painted walls, and nearby counters may require different products. Keep acidic or abrasive cleaners away from vulnerable finishes and follow supplier guidance for resealing where applicable. Inspect the sink edge, faucet penetrations, inside corners, and shelf fasteners periodically because movement or failed sealant often appears there first. Prompt repair protects the wall behind the decorative surface and keeps a small defect from becoming a disruptive removal project. Keep wet garments, leaking caps, and concentrated products from resting against vulnerable grout or stone. Wipe splashes promptly and leave the sink area able to dry. When a shelf or rail loosens, stop loading it until the fastening and concealed backing can be checked. Careful daily use preserves both the finish and the wall system it protects.