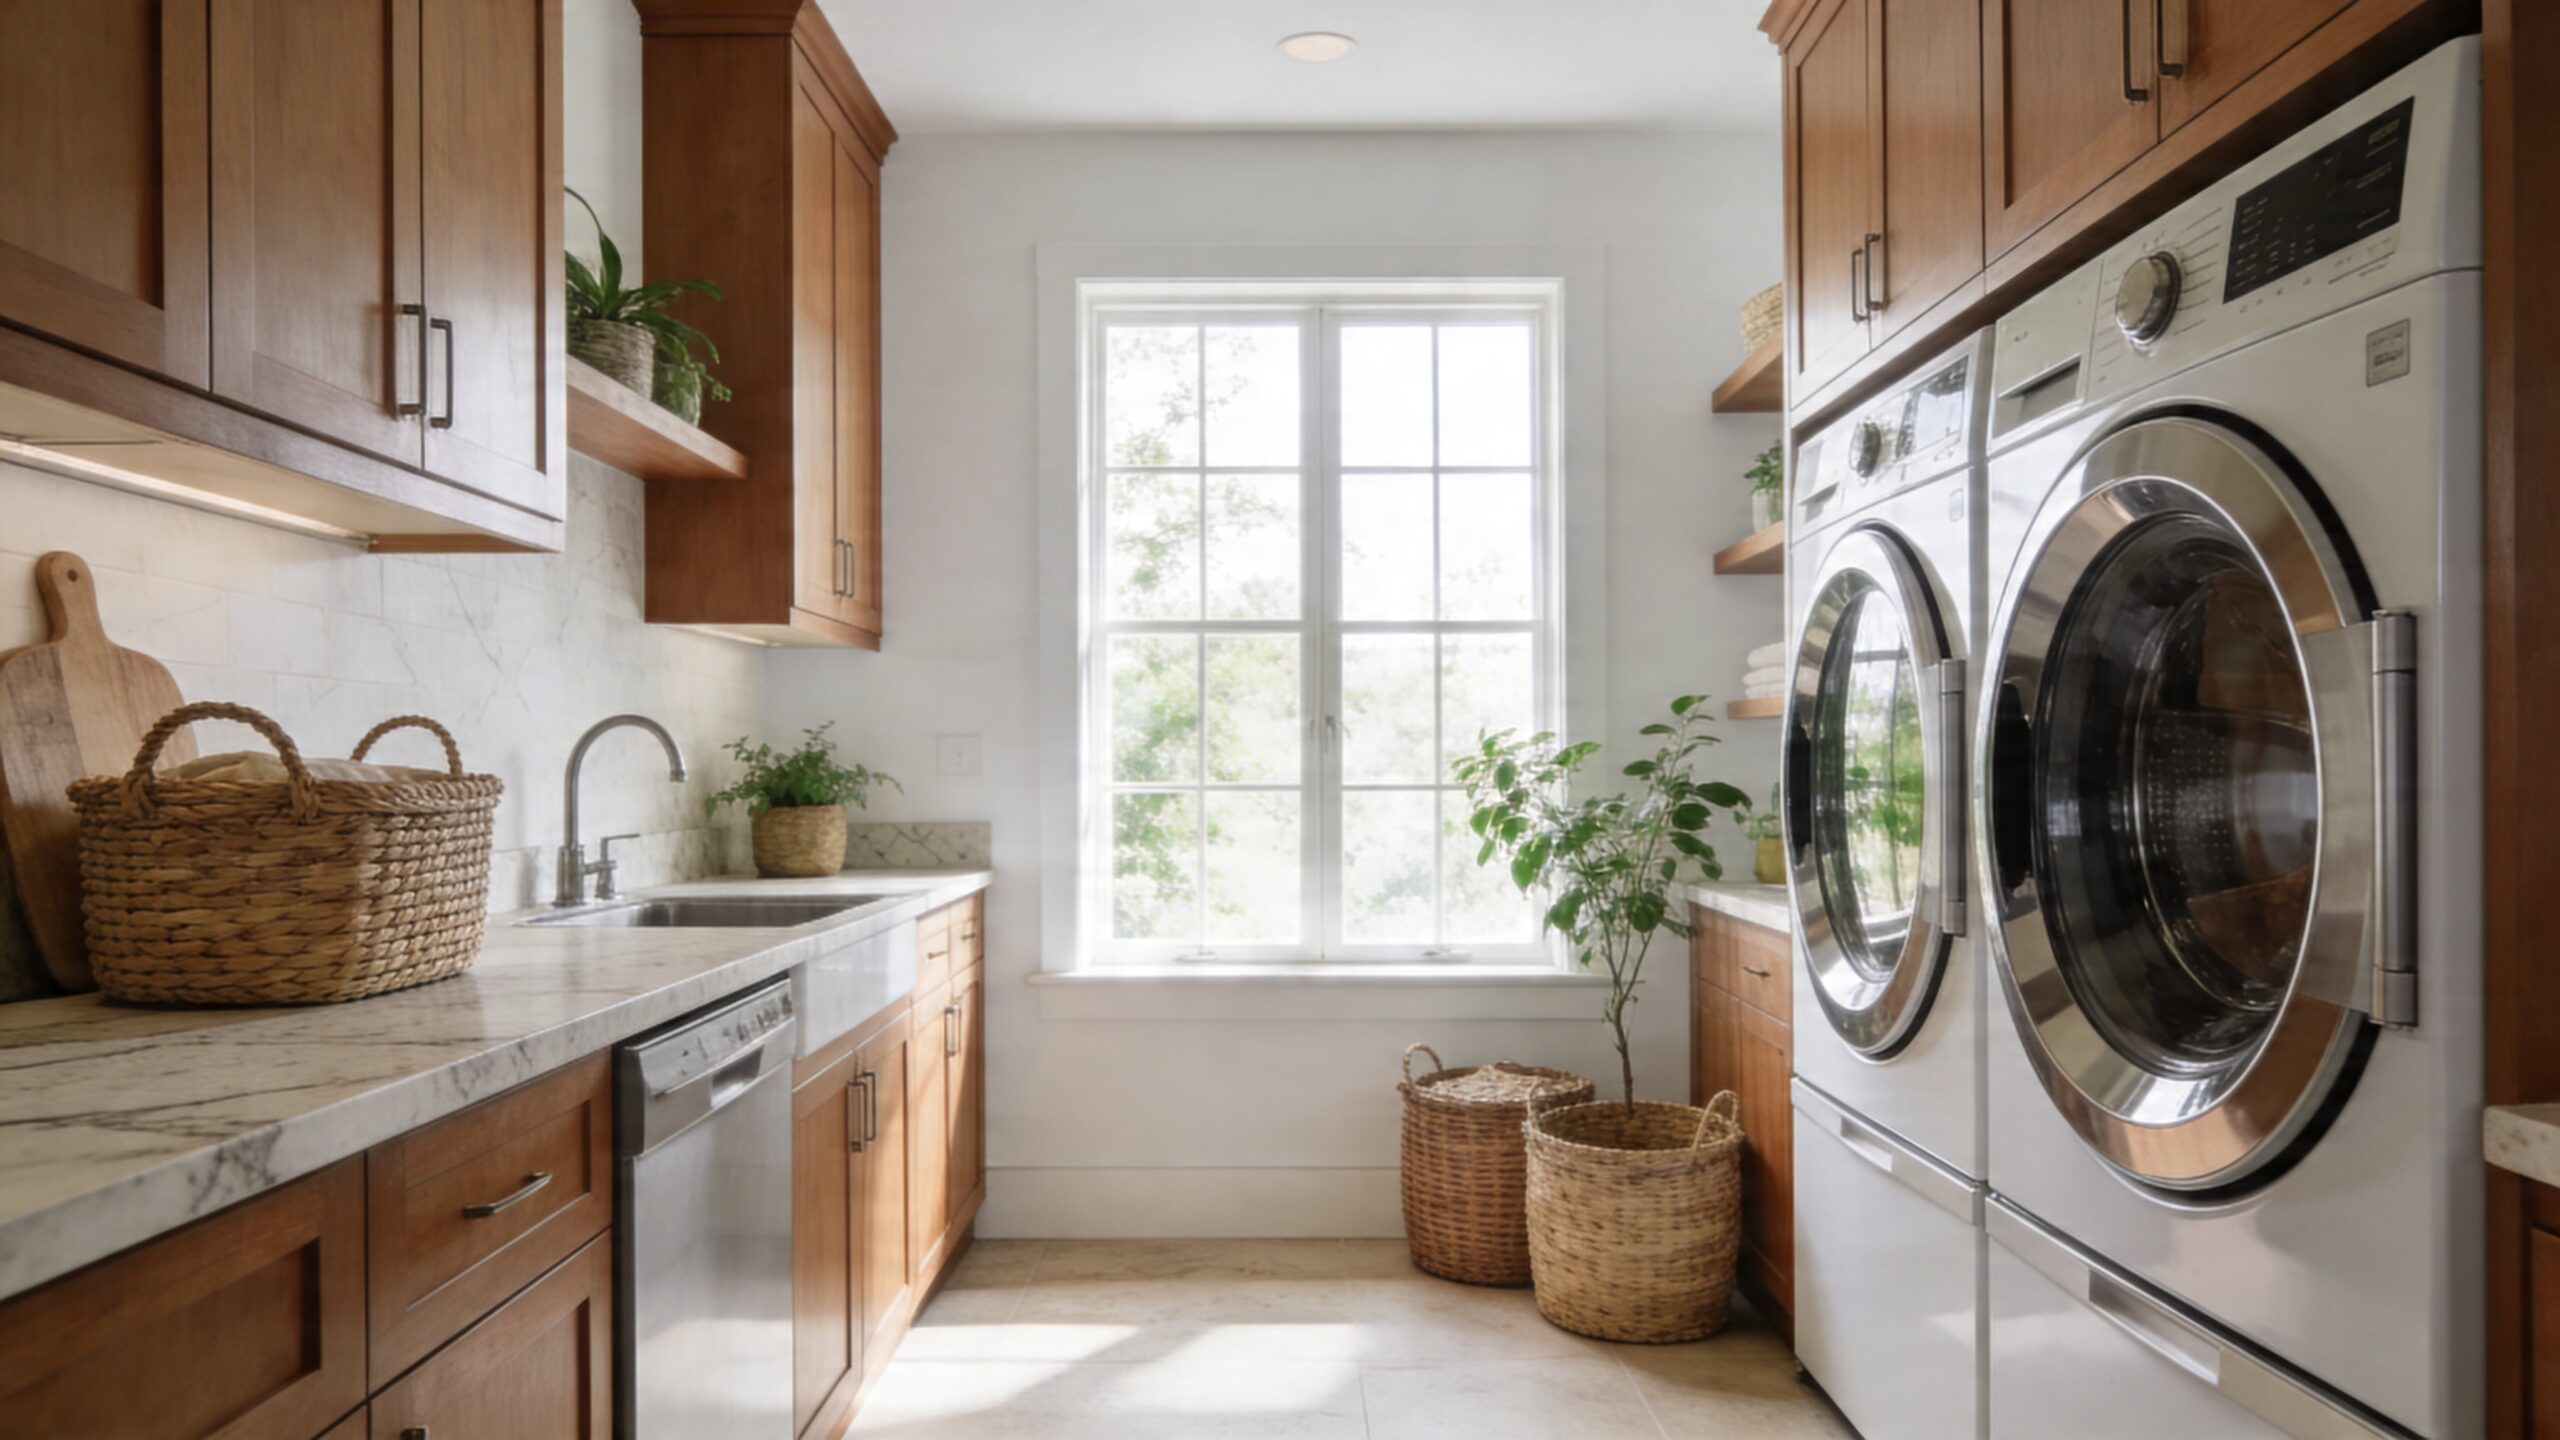
Stacking Trades Wall Length for Vertical Reach
A stacked washer and dryer can release valuable floor and counter length, making room for a sink, folding surface, tall storage, or a clearer aisle. That gain comes with responsibilities that side-by-side layouts distribute differently. The upper machine must be approved for stacking, supported by the correct kit, reachable by regular users, ventilated as specified, and removable for service. Connections often sit behind a deep tower where access is limited, and surrounding cabinetry can trap heat or equipment if openings are drawn too tightly. Modern stacked design succeeds when the freed wall length receives a useful purpose and the tower remains an honest piece of working equipment. It should look integrated without pretending that doors, filters, controls, hoses, vents, and future replacement no longer exist. Begin with selected machines and a service sequence, then build the room around their actual dimensions.
A: No. Use an exact manufacturer-approved pair and the specified stacking components.
A: No. It saves wall length while maintaining the machines' full depth and connection space.
A: Place active products in reachable secured storage beside the washer, not above an inaccessible dryer.
A: No. Preserve required clearances, vibration isolation, airflow, and service movement.
A: Follow the approved configuration; typically the lighter dryer sits above the washer, but manufacturer instructions control.
A: Select reachable models, test height, provide good lighting, and avoid unapproved platforms or pedestals.
A: A folding counter, sink, drying zone, or departure storage should solve a documented household need.
A: They avoid an exhaust duct but still have heat, airflow, drainage, clearance, and service requirements.
A: Only if the new mixed pair and stacking kit remain explicitly approved and compatible.
A: Maintain a safe route and documented process for pulling the tower forward and separating the upper machine.
Confirm the Pair Is Approved to Stack
Use equipment and stacking components approved by the manufacturer. Matching width does not establish compatibility. Follow installation instructions for kit, orientation, clearances, venting, connections, and floor support.
Do not improvise shelves or brackets between machines. The system must manage weight and vibration safely. Retain kit and model information with household records.
Measure the Complete Tower
Add machine heights, stacking kit, feet, required gaps, hookups, vent geometry, and ceiling clearance. Include open doors and the space a technician needs to separate units.
Measure control height and drum reach with regular users. A tower that fits the ceiling can still be uncomfortable or inaccessible. Pedestals generally are not used beneath stacked pairs unless explicitly approved.
Check nearby door casing, sprinklers, lights, shelves, and ceiling devices before finalizing the opening.
Choose Door Handing for Easy Transfer
Washer and dryer doors should support a direct transfer without colliding with walls or adjacent cabinets. Some doors reverse; others do not. Confirm the exact models and specify handing before delivery.
Design the Opening With Removable Tolerance
Use fillers or trim to create a tailored reveal while preserving manufacturer clearance and enough width for extraction. Permanent side panels should not depend on the machine to support them.
Leave front access to filters, drains, and service points. If cabinetry continues above, confirm heat and ventilation requirements and avoid unreachable heavy storage.
Give the Freed Wall Length a Clear Role
The strongest reason to stack is what becomes possible beside the tower. A long folding counter, utility sink, departure cubbies, or tall drying cabinet can transform workflow. Choose the role before placing random shelves in the gap.
Keep counter height independent from the elevated controls. A standard or tested ergonomic counter can sit beside the tower without following its horizontal lines.
A narrow vertical rail between tower and counter may hold hangers, but preserve door and service clearance. Every gained inch should remain usable rather than merely filled.
Place Daily Supplies at Reachable Height
Do not store detergent above the dryer simply because the cabinet appears available. Heavy bottles belong within comfortable reach and in secured locations appropriate to the household.
Use drawers or a slim pullout beside the washer for active products. Reserve upper storage for lightweight, infrequent items retrieved safely.
Plan Connections for Inspection
Water shutoffs should remain immediately accessible. Hose boxes, outlets, drains, and dryer exhaust need a path for inspection and service without dismantling the room.
A side access panel can align with cabinetry when the layout and requirements permit. Photograph connection routes before the tower moves into place.
Keep hoses and cords from being crushed as units slide back. Professional installation should verify routing under operating vibration.
Handle Dryer Venting as a Design Constraint
Vented dryers need a compliant exhaust route with correct materials, length, transitions, and cleaning access. Tight tower cavities can encourage crushed or excessive bends. Ventless models have different heat, drainage, and enclosure requirements.
Do not select the tower enclosure before confirming the dryer type. Maintain airflow openings and never convert required ventilation into concealed decorative gaps.
Build on a Stable, Level Floor
A stacked assembly concentrates weight and raises the vibrating mass. Verify floor condition and structural suitability, level the washer accurately, and investigate movement promptly. The upper unit should not contact surrounding cabinetry.
Use flooring and thresholds that allow the tower to move forward. Avoid fragile raised lips at the opening. Protect the finish during installation with approved methods.
Sound transmission may require attention near bedrooms or living areas. Address equipment, leveling, structure, and wall assembly rather than wedging soft material into required clearances.
Light the Upper Door and Controls
Place ambient light so the user does not cast a shadow over the upper opening. Vertical or side light can help reveal controls and drum contents without reflecting harshly off appliance glass.
Keep fixtures outside service and door paths. Cabinet lighting components should remain accessible and suitable for the enclosure conditions.
Coordinate a Sink and Counter Beside the Tower
A sink near the washer supports stain treatment and contained wet transfer, while the counter carries folding. Keep splash away from the tower and provide a small landing between wet work and machine door.
Support the counter independently and avoid returns that trap the lower washer. The sink cabinet should preserve plumbing access and a clear route to shutoffs.
Use the counter’s end to transition the tall tower into lower cabinetry. Consistent material and one aligned vertical edge can make the composition feel deliberate.
Consider All-in-One Alternatives Honestly
A combination washer-dryer may free vertical space and simplify transfer, but cycle time, capacity, drying method, maintenance, and household throughput differ. Compare actual routines rather than assuming one machine replaces a stack without tradeoffs.
Likewise, stacked compact units and full-size towers serve different load volumes. Select from laundry demand and service availability, not solely the smallest footprint.
Design for Future Replacement
Appliance dimensions and control locations change. Keep the structural opening reasonably adaptable and use replaceable fillers. Do not align permanent shelves so precisely to one machine that a successor cannot open.
Record opening dimensions, circuit, water, drain, vent, and stacking requirements. When one unit fails, verify whether mixed-generation stacking remains approved before replacing only half.
Plan where the upper dryer will be placed safely during service. The room and route must accommodate two separate machines, not only the assembled tower.
Commission the Stack Under Load
After the trial cycles, open and close both doors, remove filters, reach shutoffs, and simulate the first steps of service access. Listen from adjacent rooms and inspect the cabinet opening for contact marks. Recheck level and stacking hardware after the machines have settled according to manufacturer guidance. Record model and serial numbers, stacking-kit details, installation clearances, and photographs of connections so future service begins with accurate information.
Run wash and spin cycles with a representative balanced load, then operate the dryer while observing noise, movement, heat, drainage, and door clearance. Recheck level and kit installation according to professional guidance.
Confirm filters, shutoffs, and access panels can be reached. Load adjacent storage and verify nothing blocks airflow or rattles against the tower.
A stacked design is successful when vertical integration creates useful horizontal freedom without reducing safety or comfort. Approved components, accurate dimensions, reachable controls, stable support, and an extraction plan allow the tower to remain both tailored and practical.
Design the Floor Area in Front of the Tower
A stacked pair saves wall length but still needs clear floor area for loading, kneeling, door swing, and eventual removal. Keep baskets from becoming permanent obstacles in this zone by providing a parking location beside the tower or beneath a nearby counter. Check that the room door, cabinet doors, and appliance doors can operate in the sequence the household actually uses.
Manage Vibration Without Hiding It
Follow manufacturer instructions for leveling, stacking hardware, clearances, and approved accessories. The supporting floor must be sound and appropriate for the concentrated dynamic load. Decorative enclosures cannot compensate for structural movement, and foam, improvised pads, or unapproved restraints may create instability or interfere with service.
During commissioning, observe spin cycles with representative loads rather than only an empty drum. Watch the gap between the tower and surrounding panels, listen for intermittent contact, and confirm that stored objects do not rattle. If movement seems excessive, correct the cause through qualified installation and structural review instead of tightening cabinetry around the machines. A clean shadow line should remain visible and consistent during operation.
Make the Upper Machine Comfortable to Use
Before purchase, have the primary users reach the dryer controls, lint filter, door handle, and rear of the drum on a representative stacked display. Product dimensions alone do not describe reach. Shorter users may benefit from a model with controls positioned between the drums, a shallower cabinet, or another approved arrangement. Avoid relying on a loose step stool in the active loading zone.
Give Lost Overhead Storage a Better Home
Stacking removes the cabinet area that might otherwise sit above side-by-side machines. Replace that capacity deliberately on the freed wall, in a tall pullout, or in shallow storage near the entry. Daily detergent should remain near the washer and within a comfortable reach; bulk refills can occupy a separate lower-priority location.
Divide storage by load stage. Keep pretreatment and sorting tools near the washer, dryer aids and lint disposal near the dryer, and folding or mending items near the counter. This organization prevents the taller equipment arrangement from scattering supplies around the room. Secure hazardous products appropriately and preserve ventilation and utility access wherever storage meets the tower.
Plan a Safe Replacement Day
Measure the route from the exterior door to the laundry room, including stairs, turns, railings, finished openings, and overhead restrictions. Confirm how the upper machine can be separated and lowered without damaging counters or trapping installers. Removable doors, fillers, shelves, or trim should use accessible fasteners and be documented.
Also decide where both machines can stand temporarily while connections and the stacking kit are inspected. Protect the flooring for concentrated loads and hand-truck movement. A future replacement may involve different dimensions, controls, or vent connections, so avoid a cabinet opening tailored to millimeters beyond required clearances. The design succeeds over time when service crews can work safely and the room can accept a suitable successor without major demolition.
Ask the delivery and service provider about crew size, lifting equipment, disconnect procedures, and any site preparation they require. Remove stored goods and secure pets before the appointment. These practical arrangements reduce rushed improvisation around a heavy upper appliance and protect the finished room. Run a final workflow rehearsal before considering the stacked layout complete. Sort a mixed load, treat a stain, load the washer, transfer wet pieces upward, hang one delicate item, empty the lint filter, fold the dry load, and carry it out. Include the largest basket and any mobility limitations in the household. Note where doors collide, wet garments drip, products lack a landing spot, or the upper drum requires an unsafe reach. Small corrections such as changing basket storage, shifting a shelf, adding a protected hook, or improving task light can make the vertical arrangement feel natural. The goal is not simply to fit two machines into one footprint; it is to convert the saved wall length into a safer, clearer, and more productive laundry routine.