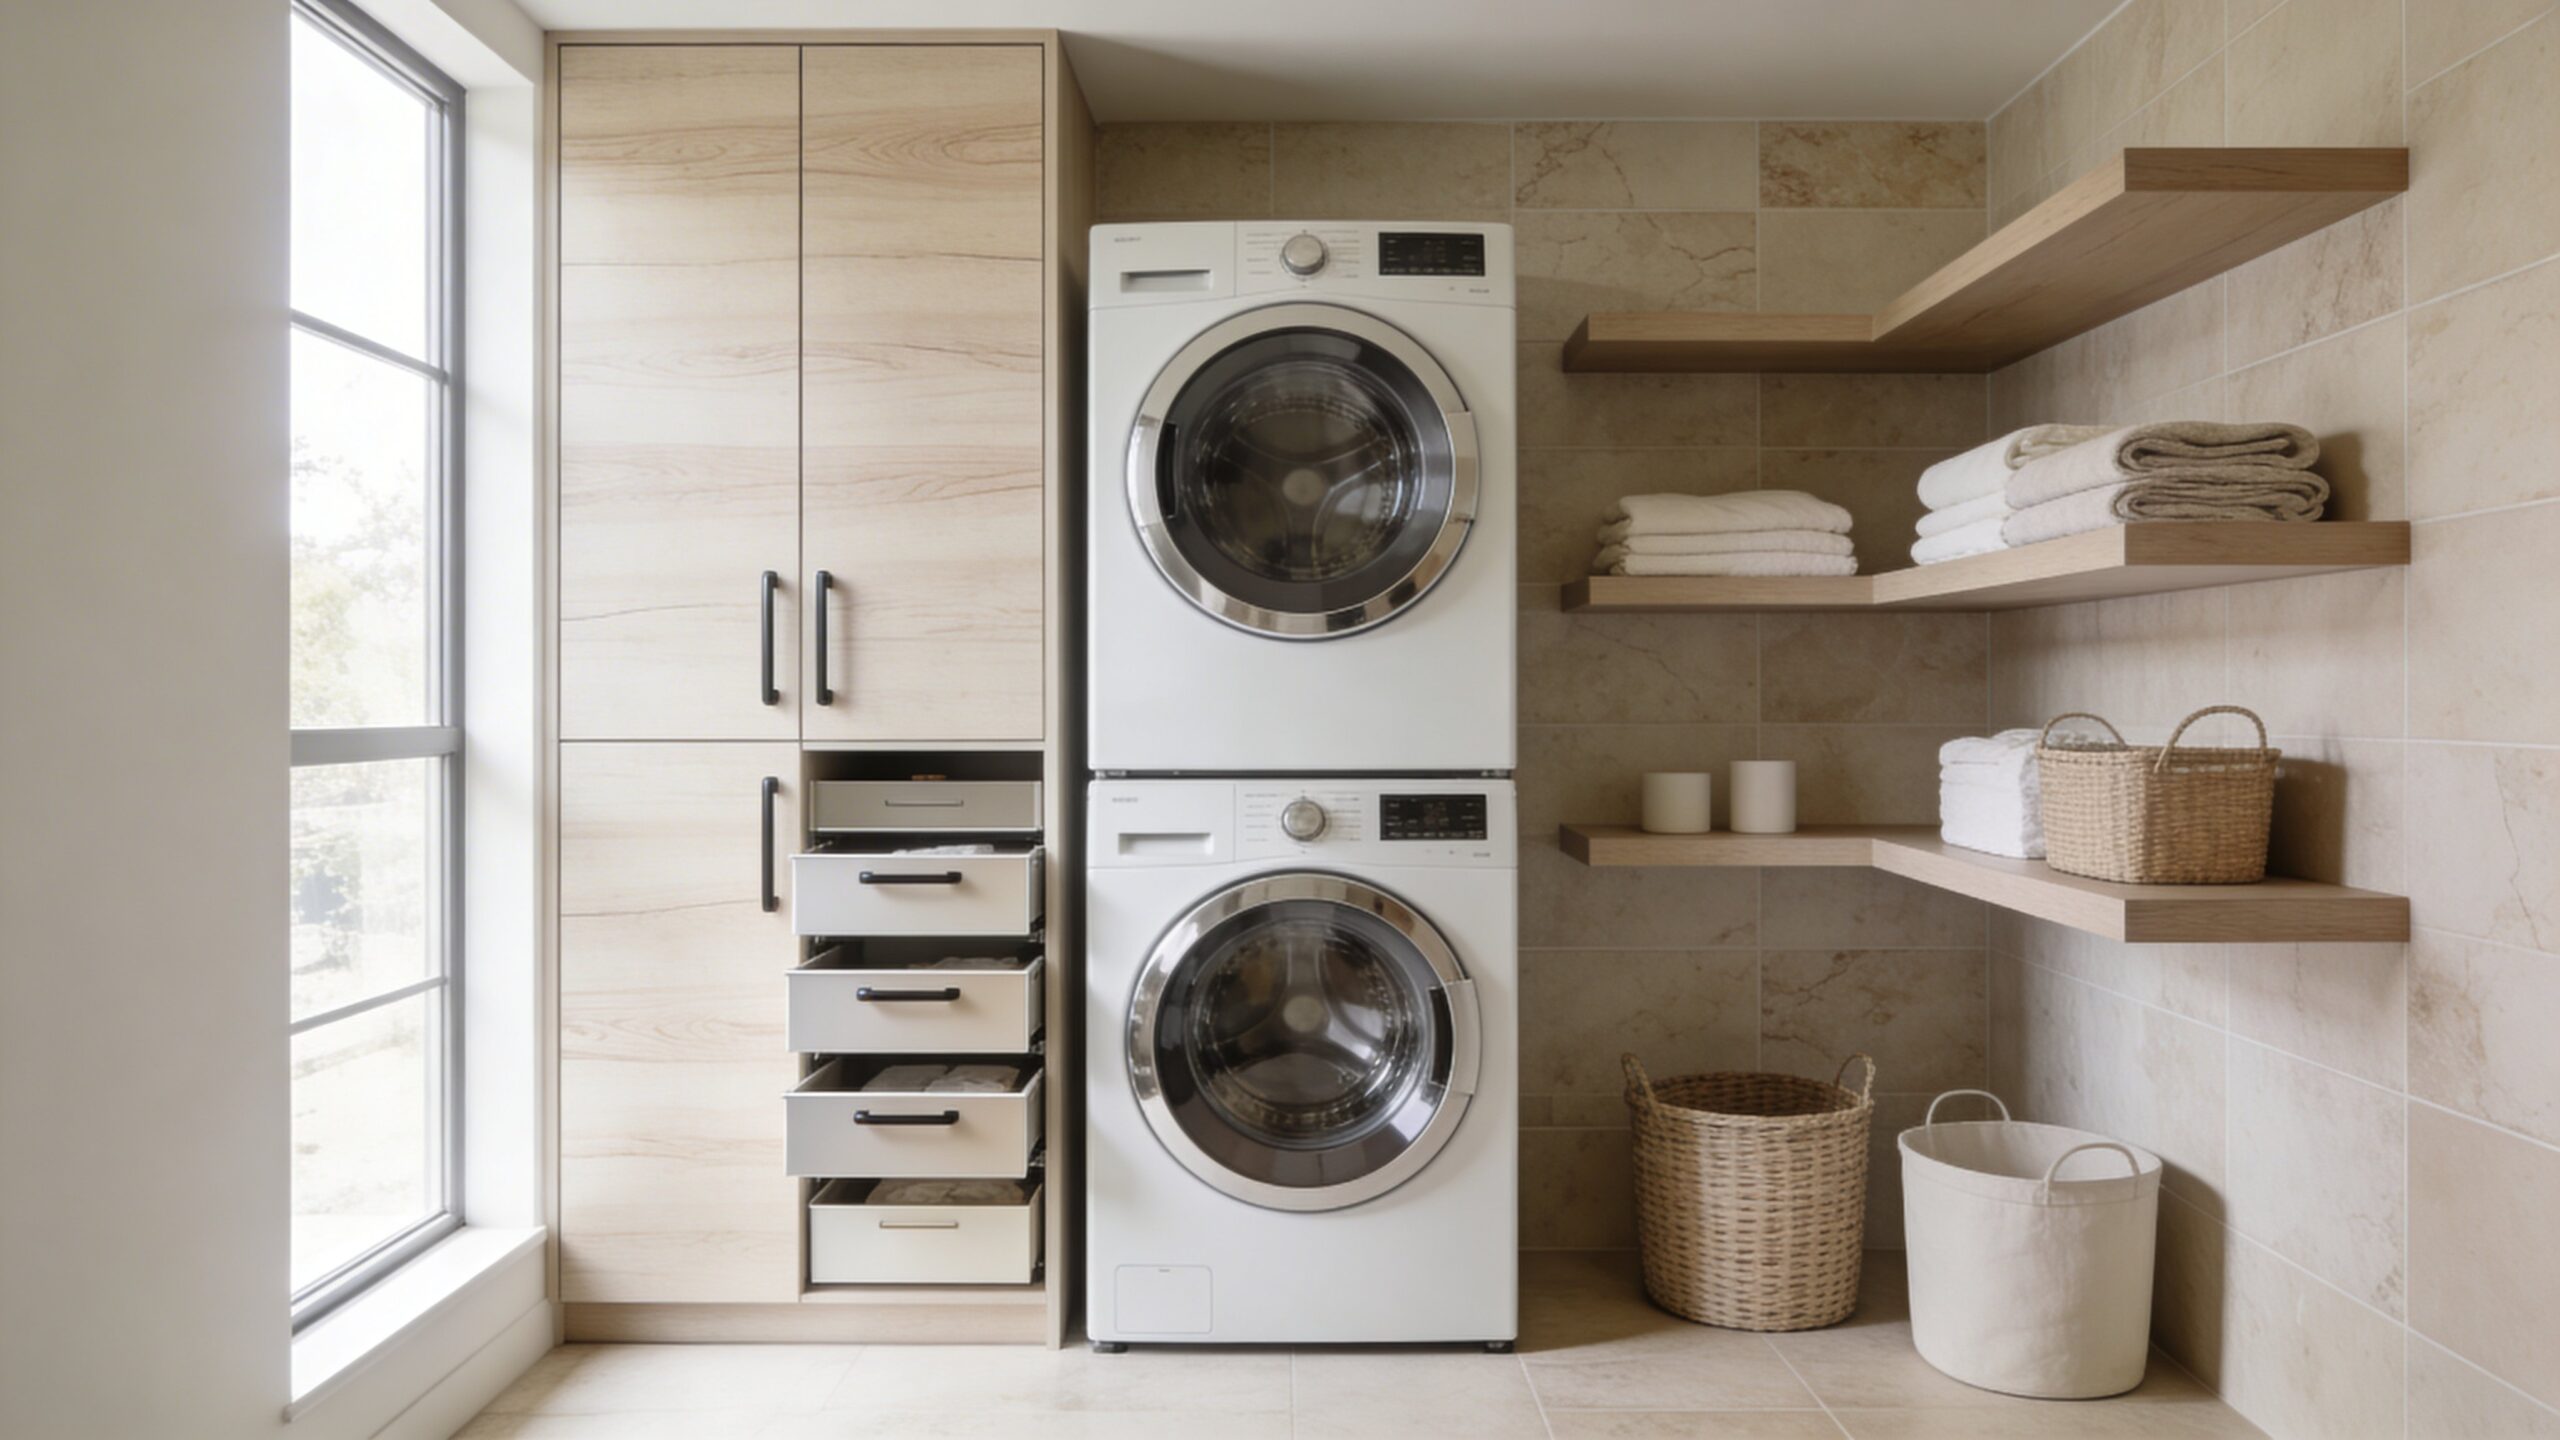
Brightness Comes From Coverage, Not One Powerful Fixture
A laundry room needs light at the ceiling, counter, sink, machine doors, storage interiors, and floor edges, often within a compact space that creates deep shadows. Replacing one dim bulb with a brighter one may increase glare without improving the areas where stains are treated or dark socks are sorted. Modern lighting works in layers: ambient sources establish even overall visibility, task fixtures direct light onto work, and restrained accent light gives materials and architecture depth. Color rendering matters because users judge fabric and stains; color temperature matters because mixed sources can make paint and textiles appear inconsistent. Fixture placement must also account for cabinet doors, hanging garments, user shadows, moisture, and service access. A good plan brightens the entire room by putting controlled light where eyes and hands need it, then making the controls simple enough to use every time.
A: Brightness should come from even ambient coverage plus task light sized to the room, surfaces, and activities.
A: A consistent warm-neutral range often balances comfort and clarity, but samples should be tested in the actual room.
A: Front placement often reaches the working edge better, provided the source is shielded from view.
A: Users and upper cabinets can block centrally placed downlight, making a dedicated task layer necessary.
A: Yes when distinguishing dark colors, inspecting stains, and judging fabric condition accurately.
A: It can add character where clearance, glare control, task coverage, and hanging equipment permit.
A: They help when carrying baskets if detection and timeout settings recognize long, relatively still tasks.
A: Use diffused or regressed sources, thoughtful angles, and tests from standing and bending positions.
A: No. It can clarify floor edges but remains an accent rather than complete task illumination.
A: Test representative fabrics and every layer after dark, before final fixture and control approval.
Inventory Tasks and Shadow Risks
Mark folding, stain treatment, sink work, machine loading, ironing, supply reading, and floor cleaning. Stand in each position and note where the user’s head or upper cabinets block ceiling light.
Give priority to tasks requiring color judgment or small-object visibility. Ambient brightness alone does not guarantee useful vertical or counter illumination.
Build an Even Ambient Layer
Use a diffused linear fixture, carefully spaced recessed lights, or broad surface-mounted units to distribute light across the room. Fixture count and spacing depend on room dimensions, ceiling reflectance, output, beam, and mounting height.
Avoid placing all downlights along the aisle center. Users working at a side counter may cast their own shadows. Shift or supplement sources so light reaches the work plane from useful angles.
In long rooms, illuminate both ends. A bright center with dark doorways makes the space feel narrower and complicates cleaning or service.
Add Task Light at the Folding Counter
Under-cabinet linear light can deliver continuous coverage when recessed or shielded from normal view. Place it toward the front of the cabinet to reach the counter edge, then test glare on polished surfaces and appliance glass.
Light the Sink Without Creating Reflections
A fixture above or beside the sink should illuminate the basin and user’s hands without reflecting directly into the eyes. Wall-mounted or under-shelf sources can supplement ceiling light where upper cabinets create a shadow.
Use equipment suitable for the location and coordinate electrical requirements around water with qualified professionals. Keep fixtures accessible for cleaning and replacement.
Reveal Machine Openings and Controls
Dark appliance drums absorb light, making small garments difficult to see. Place ambient sources so open doors receive light without users blocking it. Internal appliance lights help but should not be the only strategy.
High or stacked controls may need vertical illumination. Avoid fixtures that create harsh reflections on glossy panels. Blank walls opposite machines can bounce soft light effectively.
Preserve service access to drivers, transformers, and wiring. Do not conceal components permanently behind fixed millwork.
Choose Color Temperature as One Family
Warm-neutral light often suits residential laundry rooms, balancing comfort with clear task visibility. Cooler light can feel crisp but may exaggerate blue undertones; very warm light can make stain and fabric judgment harder.
Choose one compatible range across ceiling, under-cabinet, and decorative fixtures. Daylight will still vary, but artificial layers should not create obvious bands of different color.
Prioritize Color Rendering
High color-rendering sources help distinguish navy from black, judge yellowing, and inspect stains. Review quality beyond a single headline metric when accurate red and skin tones matter.
Compare samples on representative fabrics and room finishes. Two lamps with the same nominal temperature can render colors differently. Use reputable specifications and consistent product families where possible.
Remember that output and color can shift over time. Replace failed or noticeably changed sources with compatible units rather than mixing whatever is available.
Control Glare at Every Viewing Angle
Appliance doors, glossy tile, polished counters, and metal sinks can reflect small intense sources. Use diffusers, deeper regress, shielding, and thoughtful angles. View fixtures while standing, seated, and bending at the washer.
Exposed decorative bulbs may look attractive from the doorway but become uncomfortable during a long folding session. Decorative character can come from fixture form while the light source remains controlled.
Use Accent Light to Clarify Architecture
Wall washing can broaden a narrow room, toe-kick lighting can reveal floor edges, and a lit niche can add depth. Accent light should support the room rather than compete with task layers.
Keep color temperature and dimming behavior compatible. Avoid adding multiple small effects simply because wiring is available.
Accent sources need cleaning and service paths. Lint will reveal poorly shielded channels and inaccessible ledges.
Plan Controls Around Entry and Routine
Place switches at each entrance and make the primary action obvious. Occupancy sensing can be useful when hands carry baskets, though timeout and detection should suit long periods of relatively still folding.
Separate task and accent layers only when users benefit. Too many switches create confusion; too few can waste energy or make the room overly bright at night.
Use Dimming Deliberately
Set useful minimum and maximum levels during commissioning instead of leaving the full electronic range untouched. Some LED lamps flicker, drop out, or shift color near the bottom of an incompatible dimmer. Test the exact driver, lamp, and control combination while the dryer and other nearby loads operate. A stable low setting should remain bright enough to walk safely and identify the machines, while the working setting must preserve accurate color and contrast at the sink and counter.
Label scenes by activity if the control system supports them. An arrival scene can illuminate the floor and machine fronts, a work scene can add counter and sink layers, and a quiet evening scene can soften ambient output without switching off necessary task light. Keep ordinary manual control available so the room remains understandable to visitors and functional if a network service is unavailable.
Dimming allows bright task settings and softer ambient light when the room is visible from adjacent living areas. Confirm compatibility among drivers, lamps, controls, and low-end performance to prevent flicker or abrupt shutoff.
Do not use dimming to compensate for poor placement. The full-output plan should provide appropriate coverage before scenes are adjusted.
Coordinate Fixtures With Storage and Drying
Cabinet doors, stacked machines, hanging rails, and ceiling airers can block light or collide with pendants. Draw them open together. Keep hot fixtures and cords clear of textiles.
Inside-cabinet lighting can help deep storage when door switches and wiring remain reliable. It should not encourage unsafe chemical storage at high levels.
Locate drivers and junctions where they remain accessible. Photograph concealed wiring before walls and cabinets close.
Test the Lighting With Real Fabric
Repeat the test after machines, shelving, hanging rods, and glossy finishes are installed because these elements change shadows and reflections. Photograph a white towel, a black garment, and a patterned fabric under each intended scene, then compare what the eye sees rather than relying only on the camera. Adjust aiming and dimmer presets before ladders and spare lamps are removed from the project.
Before final approval, place white sheets, dark socks, patterned garments, and a typical stain at the counter and sink. Observe shadows, color, glare, and vertical visibility with each layer on separately and together.
Test at night, when artificial light does all the work. Check the doorway view and adjacent spaces for spill or contrast. A room that looks bright at noon may fail after sunset.
Modern laundry lighting succeeds when users stop noticing it. The room appears evenly clear, materials retain their intended color, and every task is visible without glare. Layering, consistent specifications, and a real-use test create that effortless result.
Coordinate Daylight Without Depending on It
A window can make the room inviting and improve daytime color judgment, but direct sun may create glare on appliance doors or fade stored products and textiles. Use shades, translucent glazing, exterior protection, or fixture placement to balance changing daylight. Evaluate morning and afternoon conditions when possible. Electric task lighting still needs to perform independently on dark days and after sunset, so daylight should reduce energy use and enrich the room rather than conceal weak coverage.
Light Vertical Storage and Deep Cabinets
Tall utility cabinets and deep shelves often remain dim even when the room feels bright. Integrated door-triggered or occupancy-triggered lighting can reveal labels and prevent duplicate purchases, provided wiring, drivers, heat, and replacement access are planned before cabinetry is built. Position the source near the front so the user’s body does not cast a shadow across the contents.
Use diffused channels or shielded fittings that cannot be struck by baskets and bottles. Keep drivers in ventilated, documented, accessible locations rather than sealing them behind fixed panels. If integrated light is not justified, a well-positioned ceiling or wall source should still illuminate the cabinet face and surrounding floor. The objective is legibility, not a glowing display of every supply.
Specify Fixtures for the Room Conditions
Choose equipment rated for the expected moisture, temperature, and installation location, especially near sinks, drying zones, or poorly conditioned spaces. Confirm local electrical requirements with a qualified professional. Decorative appearance does not replace suitable listing, clearances, secure mounting, or compatible controls. Also check how lint can be removed from lenses and openings without dismantling fragile components.
Plan Maintenance Before Selecting a Feature Fixture
Record lamp type, driver model, color temperature, color-rendering specification, dimmer model, trim finish, and aiming position at project closeout. Buy reasonable spares when a proprietary module or uncommon lamp is central to the design. Matching replacements years later can be difficult, and mixing color temperatures will make an orderly room look accidental.
Fixtures above stacked machines, cabinets, or drying rails may be hard to reach once the room is in use. Confirm a safe maintenance route and avoid placing serviceable components where an appliance must be moved for every replacement. Clean lenses periodically because lint reduces output gradually and can make users compensate by increasing brightness. A maintainable lighting plan stays consistent instead of becoming a patchwork of failed accents and mismatched lamps. Treat the final lighting review as a task-performance inspection. Carry a basket through the doorway, read product instructions inside storage, inspect a stain at the sink, match dark socks, fold pale fabric, operate both machines, and look for a dropped item at floor level. Test from the standing positions of different household members and from a seated position if accessibility matters. Note glare, reflections, shadows, confusing controls, and any area that appears bright yet hides detail. Correcting one aiming angle or adding a shield may outperform increasing wattage everywhere. The successful result is not a dramatic photograph of illuminated fixtures; it is an entire laundry routine that remains visually comfortable, accurate, and easy at every hour. Check emergency and overnight use as well. The path to a utility panel, water shutoff, floor drain, and appliance plug should be easy to illuminate without searching through scenes. If the room connects to a garage, mudroom, or hallway, prevent abrupt brightness differences that make adaptation uncomfortable. Coordinate any vacancy sensor so it does not switch off while someone quietly sorts or treats a stain. Document override steps and preferred settings for the household. These small operational decisions turn a collection of attractive fixtures into dependable room infrastructure.