A Narrow Laundry Room Needs a Protected Center Line
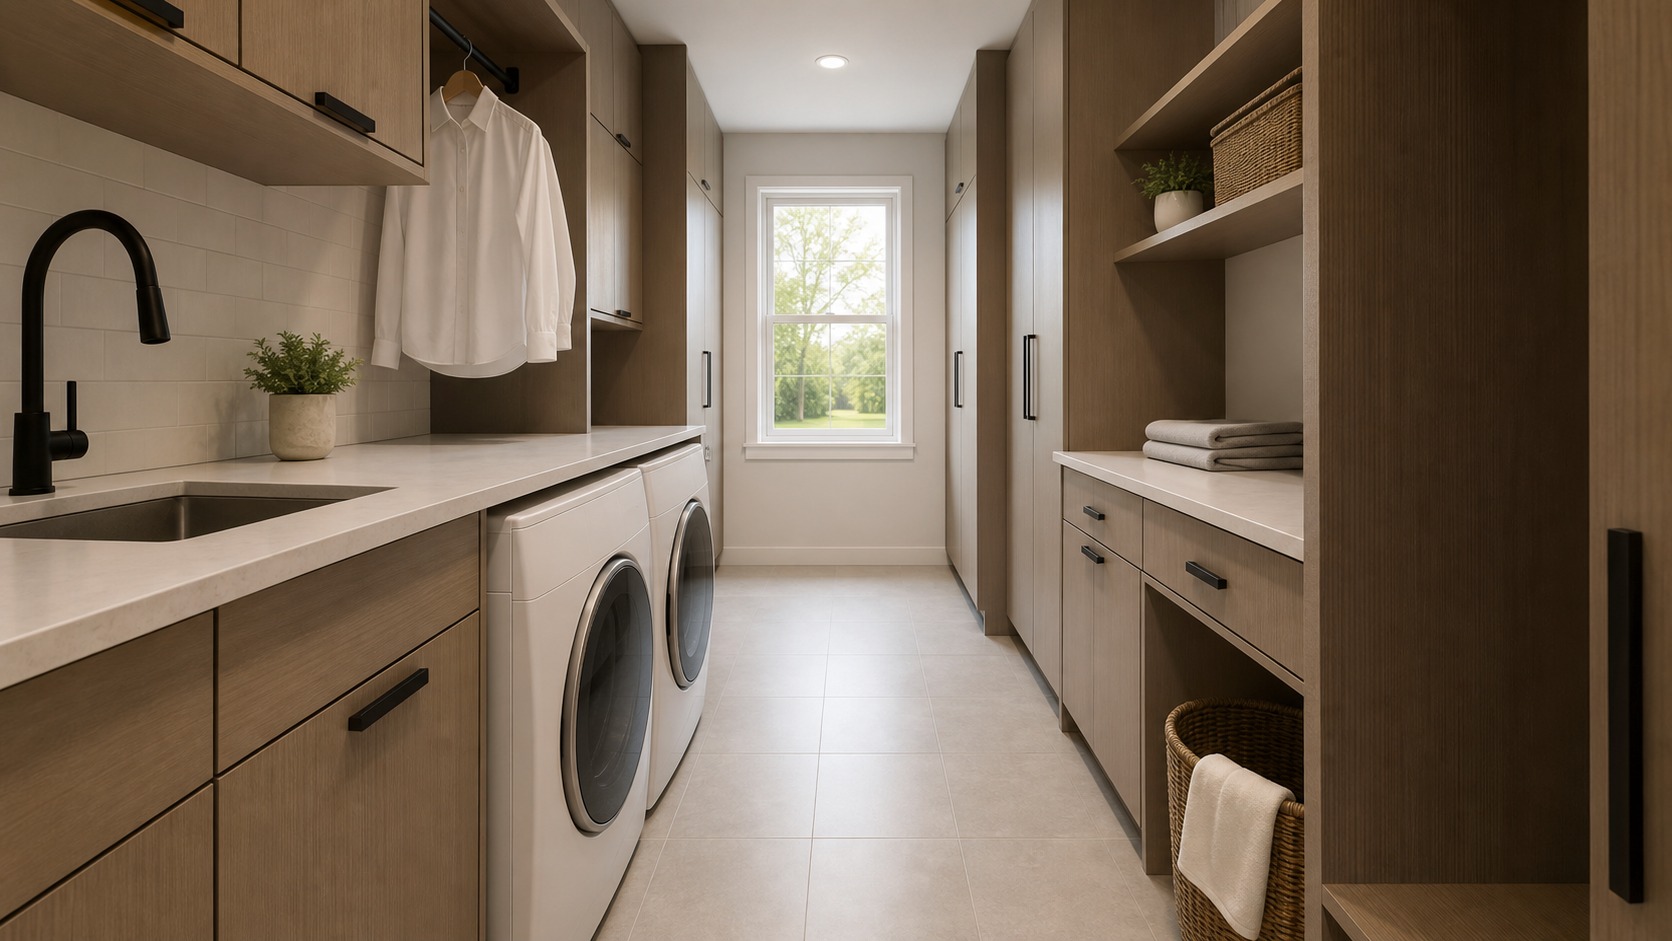
In a long, tight laundry room, every projection matters. An open appliance door, deep upper cabinet, extended drawer, or freestanding basket can turn the only aisle into an obstacle course. The design therefore begins with a protected route from entrance to work zones and, where applicable, to a second doorway. Appliances, storage, treatment, drying, and folding should sit along that route without repeatedly crossing it. A narrow room can still feel generous when surfaces align, storage depth matches its contents, and unfinished loads have places that do not occupy the floor. Visual continuity helps, but function comes first: machine clearances, ventilation, service removal, user stance, and door movement determine what can safely fit. The goal is not to imitate a wide room with compressed components. It is to use linear organization as an advantage, creating a clear sequence that reads from one end to the other.
A: Only selectively; concentrate depth on one side and use shallow elements opposite to protect circulation.
A: Yes when depth, open doors, user stance, hookups, and the remaining aisle all meet requirements.
A: No. It frees wall length but keeps full depth and may create reach or service challenges.
A: Use cubbies, pullouts, or departure shelves that keep the central floor route clear.
A: Evenly spaced ambient light plus targeted task lighting prevents dark ends and side-counter shadows.
A: Protect visible floor width, limit projections, align materials, and light side walls evenly.
A: Only if its open position and hanging garments do not obstruct required passage or doors.
A: It can provide a visual destination, but the feature should also respect circulation and service access.
A: They reduce projection, though reliable operation and comfortable access still matter.
A: Rehearse the busiest scenario at full scale with doors, baskets, drying equipment, and two people.
Measure the Aisle in Active Conditions
Record clear width with every fixed surface installed, then subtract open appliance doors, drawer pulls, hanging garments, and the user’s body position. A nominal aisle can become unusable during transfer. Test whether someone can pass when a machine is open if the room serves as a passage.
Follow manufacturer and applicable accessibility or building requirements. Preserve a service path large enough to remove equipment without dismantling permanent work. Floor transitions and door thresholds must also accept a heavy appliance cart.
Put the Deepest Components on One Side
Concentrating machines, sink, and full-depth cabinetry along one wall usually protects more continuous aisle than alternating deep elements. The opposite side can carry shallow shelves, a narrow rail, hooks, or a slim folding ledge where clearance permits.
Align the deep wall into a deliberate elevation. Fillers and side panels can resolve gaps while maintaining equipment clearance. Avoid bumping one cabinet forward solely to capture a few inches; the projection will be felt on every trip through the room.
If utilities force machines to opposite sides, stagger their doors and work zones so users do not stand in the same pinch point. Full-scale rehearsal is essential in this less forgiving arrangement.
Use Counter Length as the Main Work Asset
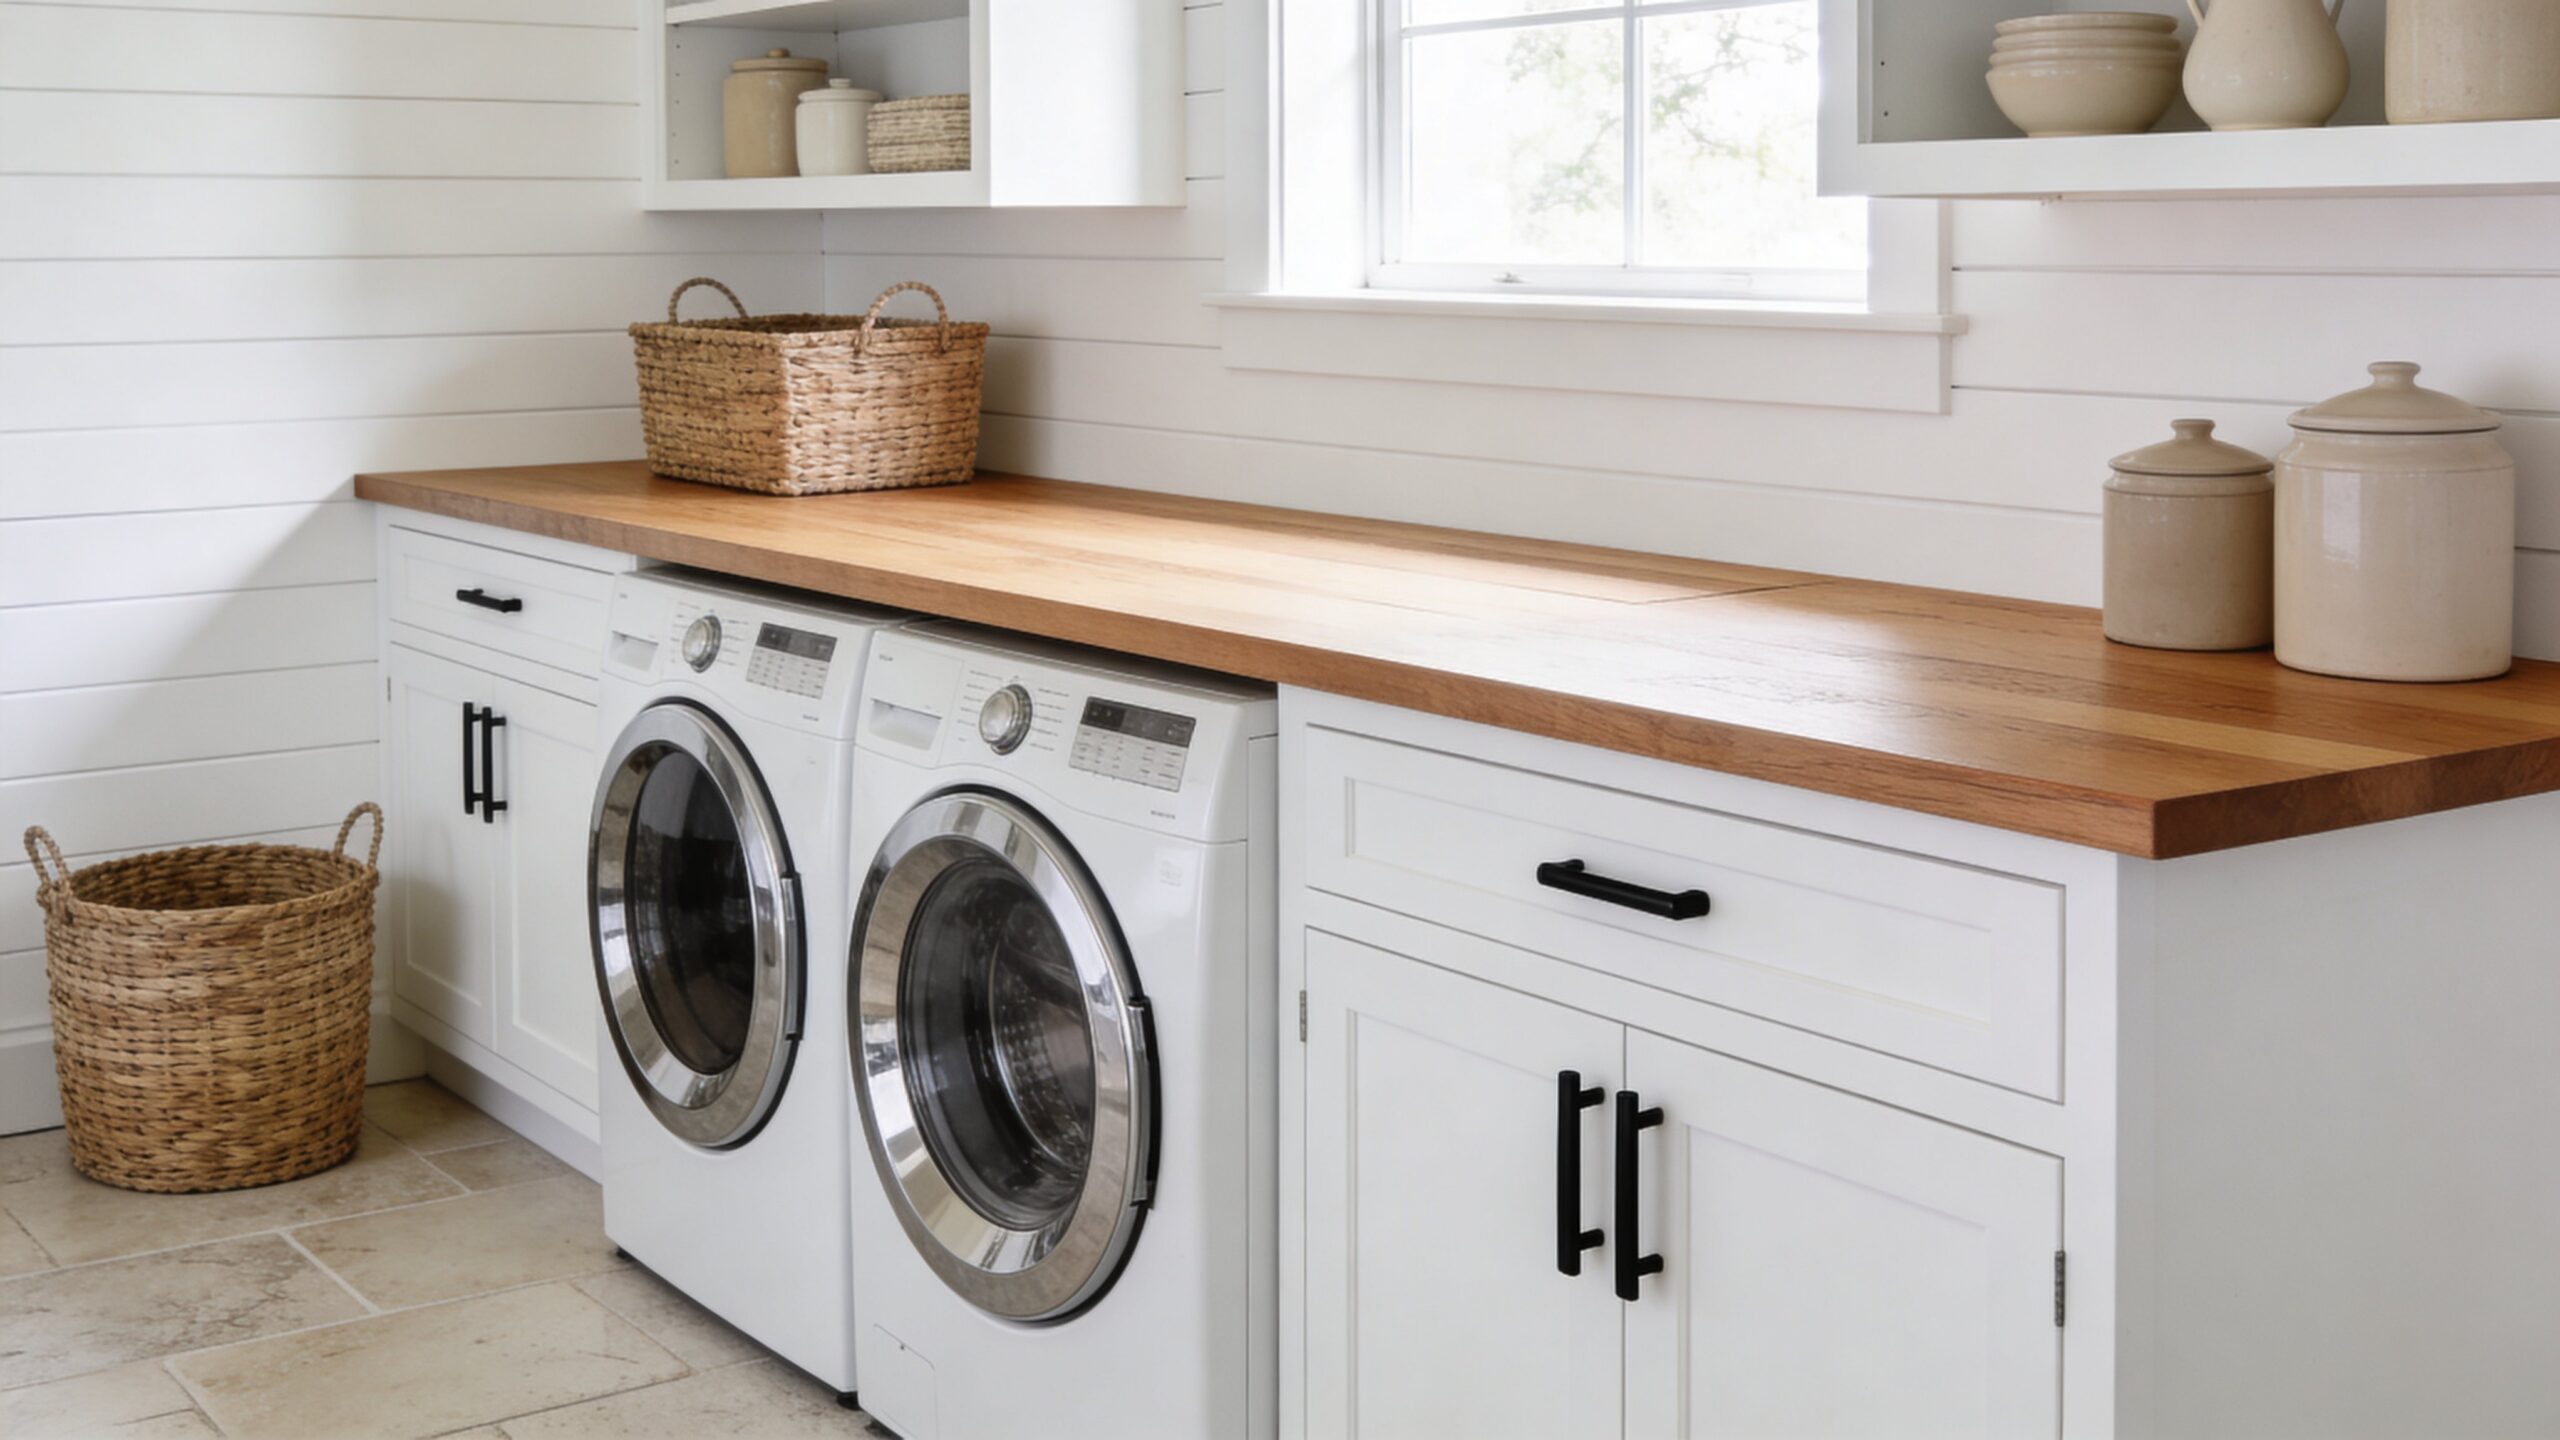
A long counter above front-load machines can extend toward a sink or folding zone, making linear space productive. Support it independently and preserve appliance removal. Keep its leading edge consistent to reduce visual and physical interruptions.
Choose Shallow Storage With Honest Capacity
Shallow cabinets and shelves can hold stain tools, cloths, mesh bags, spare hangers, and smaller products in one visible row. They are often more usable than deep storage where bottles hide behind one another. Measure contents before setting depth.
Do not force bulk containers into a slim wall system. Place backstock in a tall unit at the end, a cabinet above the deep counter, or secondary household storage. The narrow room should support the active supply, not warehouse every purchase.
Control Every Door and Drawer Swing
Draw machine doors, entry doors, cabinet fronts, hamper pullouts, and sink doors open together. Front-load doors may be reversible on some models, but confirm before purchase. Reversing the correct door can transform the transfer path; assuming reversibility can create an expensive conflict.
Use hardware that does not catch clothing or reduce clearance unnecessarily. Edge pulls and compact knobs can suit a narrow aisle when comfortable to grip. Push-latch systems remove handles but require clean fronts and reliable adjustment.
Pocket or outward-swinging room doors may release interior area where construction and code allow. A sliding barn-style door needs wall space and may offer less sound or moisture control, so judge it beyond appearance.
Stack Equipment Only When It Improves the Route
Stacking can free floor length for a sink, counter, or tall storage. It does not reduce appliance depth, and elevated controls or dryer access may be uncomfortable. Use an approved stacking kit and verify ceiling, hookups, ventilation, and service procedures.
A stacked tower works especially well at the far end, where its height terminates the room instead of narrowing the entrance. Keep adjacent counter depth and cabinet lines coherent so the tower appears intentional.
Keep Baskets Off the Main Floor Path
Provide recessed cubbies, under-counter bays, wall-supported shelves, or pullout hamper bags. Each basket should be removable without closing a machine or blocking the doorway. Size storage around carried loads rather than oversized bins that become too heavy.
Separate an incoming sorting point from outgoing clean baskets. In a narrow room, combining them creates frequent resorting and floor overflow. A small departure shelf near the door can be more useful than another decorative cabinet.
Ventilate enclosed dirty-laundry storage and keep damp textiles from sitting in sealed compartments. Narrow rooms can have limited air movement, making this detail especially important.
Use the Far End as a Visual and Functional Destination
A window, glazed door, sink, art piece, or calm cabinet face can pull the eye through the room. Keep the strongest view free from stacked supplies. If the far wall is blank, a shallow hanging zone or one durable wall treatment can give it purpose.
Do not place an attractive endpoint where it blocks service or circulation. A plant in the aisle or a bench across the end may shorten usable length. The destination should support the route rather than merely decorate it.
Light the Whole Length Evenly
One central fixture can leave the ends dim and cast shadows across a side counter. Use a linear fixture, a series of recessed lights, or evenly spaced ceiling units combined with task light at sink and folding zones. Avoid low pendants in the primary aisle.
Under-cabinet lighting should be shielded from direct view and coordinated in color temperature with ceiling light. Wall washing can make a narrow room feel wider, but glossy finishes may produce glare when sources sit close.
Switching belongs at each relevant entrance in a pass-through room. Qualified electrical planning should also keep outlets accessible without cords crossing the aisle.
Use Material Continuity to Reduce Visual Chopping
Carry one floor through the length when appropriate, align backsplash and cabinet edges, and limit abrupt color changes. Long horizontal lines emphasize depth, while too many small patterns and alternating finishes make the room busy.
Continuity does not mean monotony. A wood end panel, colored far wall, or textured sink niche can provide a focal pause. Keep the main side elevations calm so the aisle remains visually legible.
Plan Compact Drying That Disappears
A retractable line, wall-folding rack, ceiling-mounted airer, or short rail can serve a narrow room if open garments stay outside passage and cabinet swings. Map wet length and drip location, not only the folded dimensions of the hardware.
Store hangers beside the drying device so they do not form a counter pile. Use corrosion-resistant hardware anchored to suitable structure and account for the weight of wet clothing.
Airflow around hanging garments matters. Avoid packing them against a wall or placing them where dryer heat and lint accumulate.
Make Utilities Easy to Reach From the Aisle
Place shutoffs, vent access, cleanouts, and electrical disconnects where a user or technician can reach them without removing a cabinet run. A shallow removable panel can align with the elevation while preserving access.
Photograph concealed services and document the sequence for pulling machines forward. Narrow rooms offer little maneuvering space, so removable fillers and counter supports should be identified before an emergency.
Rehearse the Busiest Five Minutes
Tape the plan full size, set down two baskets, open the washer, extend a drying rack, and ask another person to enter. Simulate a dropped item and a transfer from washer to dryer. Any step that requires backing into a wall or lifting a basket over an open door deserves revision.
Repeat with cleaning and service in mind. Can the floor be mopped along edges? Can lint be removed without kneeling in a doorway? Can a machine roll out? These tests reveal the difference between a narrow room that merely fits and one that functions.
A successful design protects its center line while making both walls contribute selectively. Linear counters, shallow storage, disciplined door swings, and even light turn constraint into order. The room feels modern because every inch participates in a clear direction.
Use End Walls for High-Value Storage
The short wall at either end can sometimes carry depth without squeezing the entire aisle. A tall cabinet beside the entrance may hold bulk supplies and cleaning equipment, while an end cabinet near a window can provide departure baskets below a shallow counter. Check door swings and turning space carefully; a deep unit that faces the length of the room may require more withdrawal clearance than expected. Keep the most frequently handled items on the side walls so users do not walk the full length for every dose or hanger. End storage should absorb awkward inventory while allowing the central sequence to remain fast.
Coordinate Narrow Rooms With Adjacent Spaces
A pass-through laundry room affects circulation beyond its own walls. Watch how kitchen, garage, mudroom, or hallway doors interact at both ends. A basket parked just outside one doorway may block another route, so provide arrival and departure positions within the plan.
Sound, light, and views also travel. Use doors, seals, insulation, and equipment selection appropriate to nearby living or sleeping areas. Continue compatible flooring only when moisture performance and transitions are suitable. If the room remains open, the far view should be calm without hiding ventilation or safety access.
Budget for Precision
Narrow rooms expose measurement errors. Uneven walls, protruding trim, misplaced outlets, and unexpected hose depth can consume the small tolerance that protects the aisle. Require field measurements after demolition and before cabinet fabrication. Confirm finished wall thickness, backsplash buildup, handle projection, counter overhang, and the exact selected appliances. Include fillers and scribes rather than ordering cabinetry to an optimistic wall dimension. The project may use fewer materials than a large laundry room, but careful coordination carries greater value because every fraction affects movement. Precision allows the final space to feel relaxed even though its plan is exacting. After installation, establish operating limits that keep the plan intact. Store only one active basket in each designated bay, return the drying rack when garments are removed, and keep backstock below the capacity of its assigned cabinet. These are not decorative rules; they preserve the measured aisle and prevent temporary objects from becoming permanent obstructions. Schedule routine vent and lint-path maintenance, inspect hoses and shutoffs, and tighten wall-mounted hardware if vibration produces movement. Review the room when appliances are replaced, because new door geometry or connection depth can alter a previously successful clearance. A narrow laundry room remains comfortable through disciplined use and documented service, allowing its carefully protected route to survive daily pressure rather than slowly disappearing beneath overflow. Keep the final floor plan and appliance specifications together, including every open-door dimension used during design. When a new basket, cabinet accessory, or drying device is considered, test it against that record before it enters the room. Small additions can consume hard-won clearance, while a documented limit makes purchasing decisions simple and protects the original workflow.