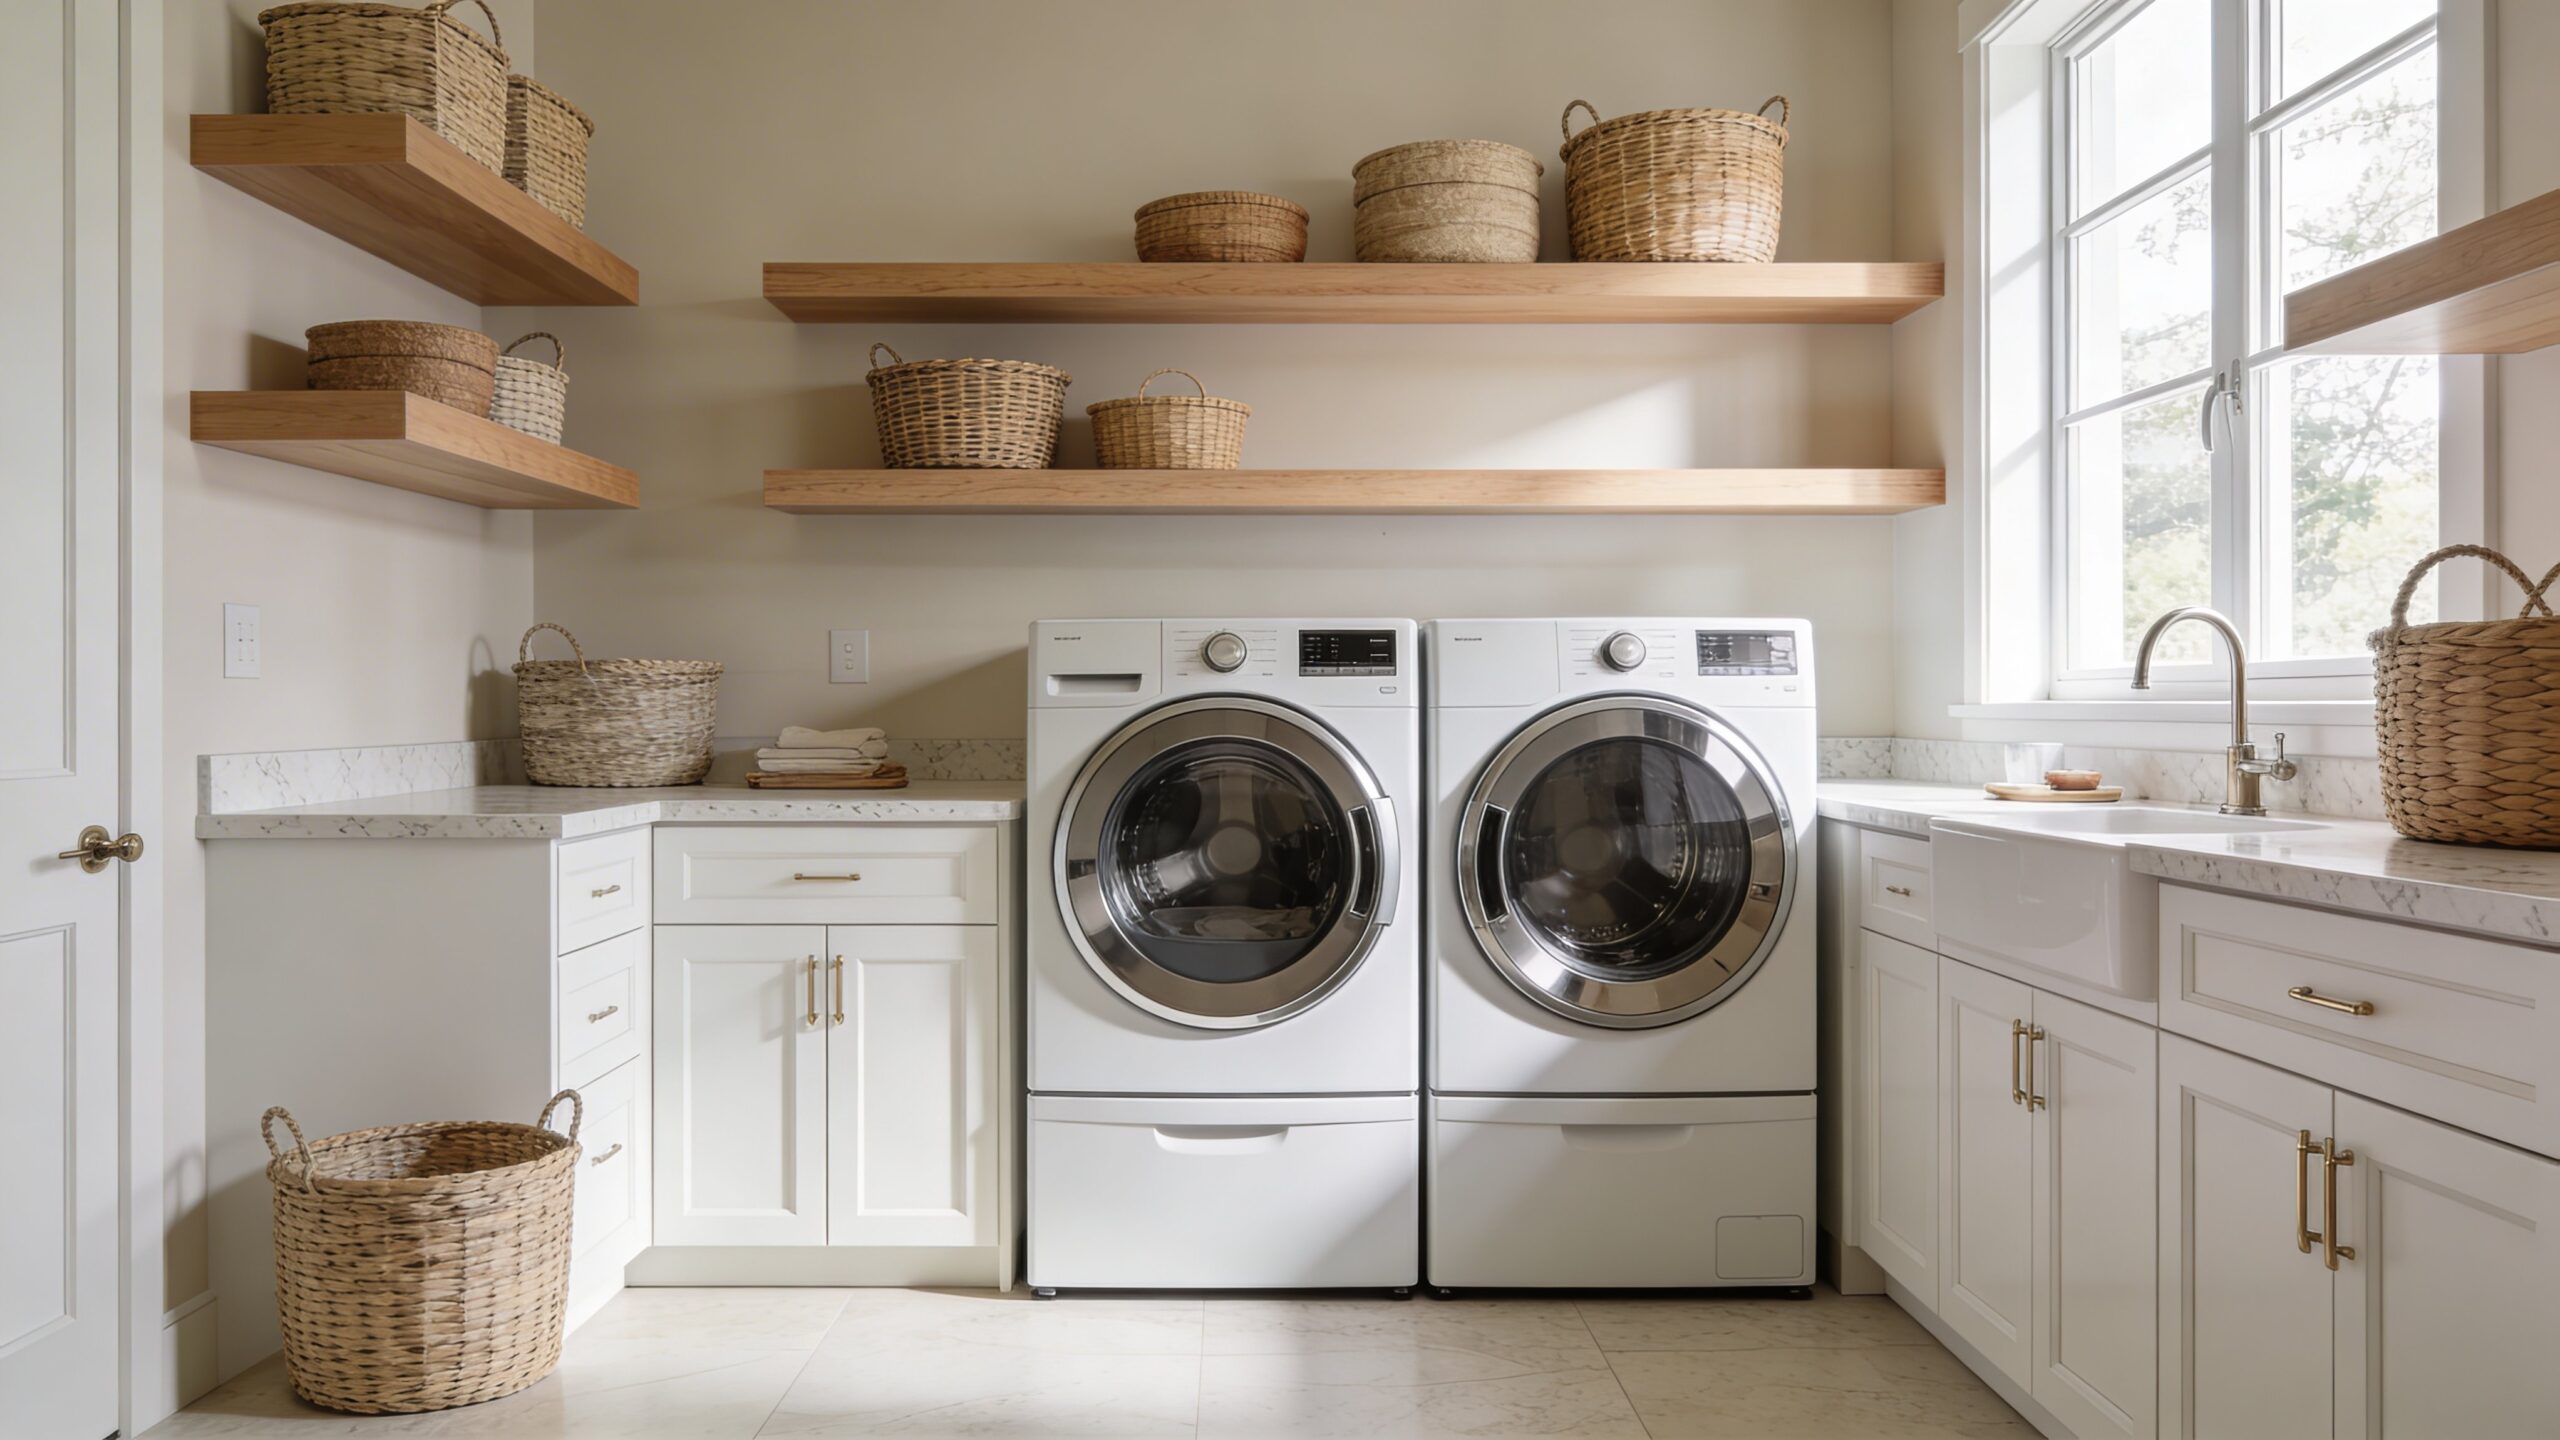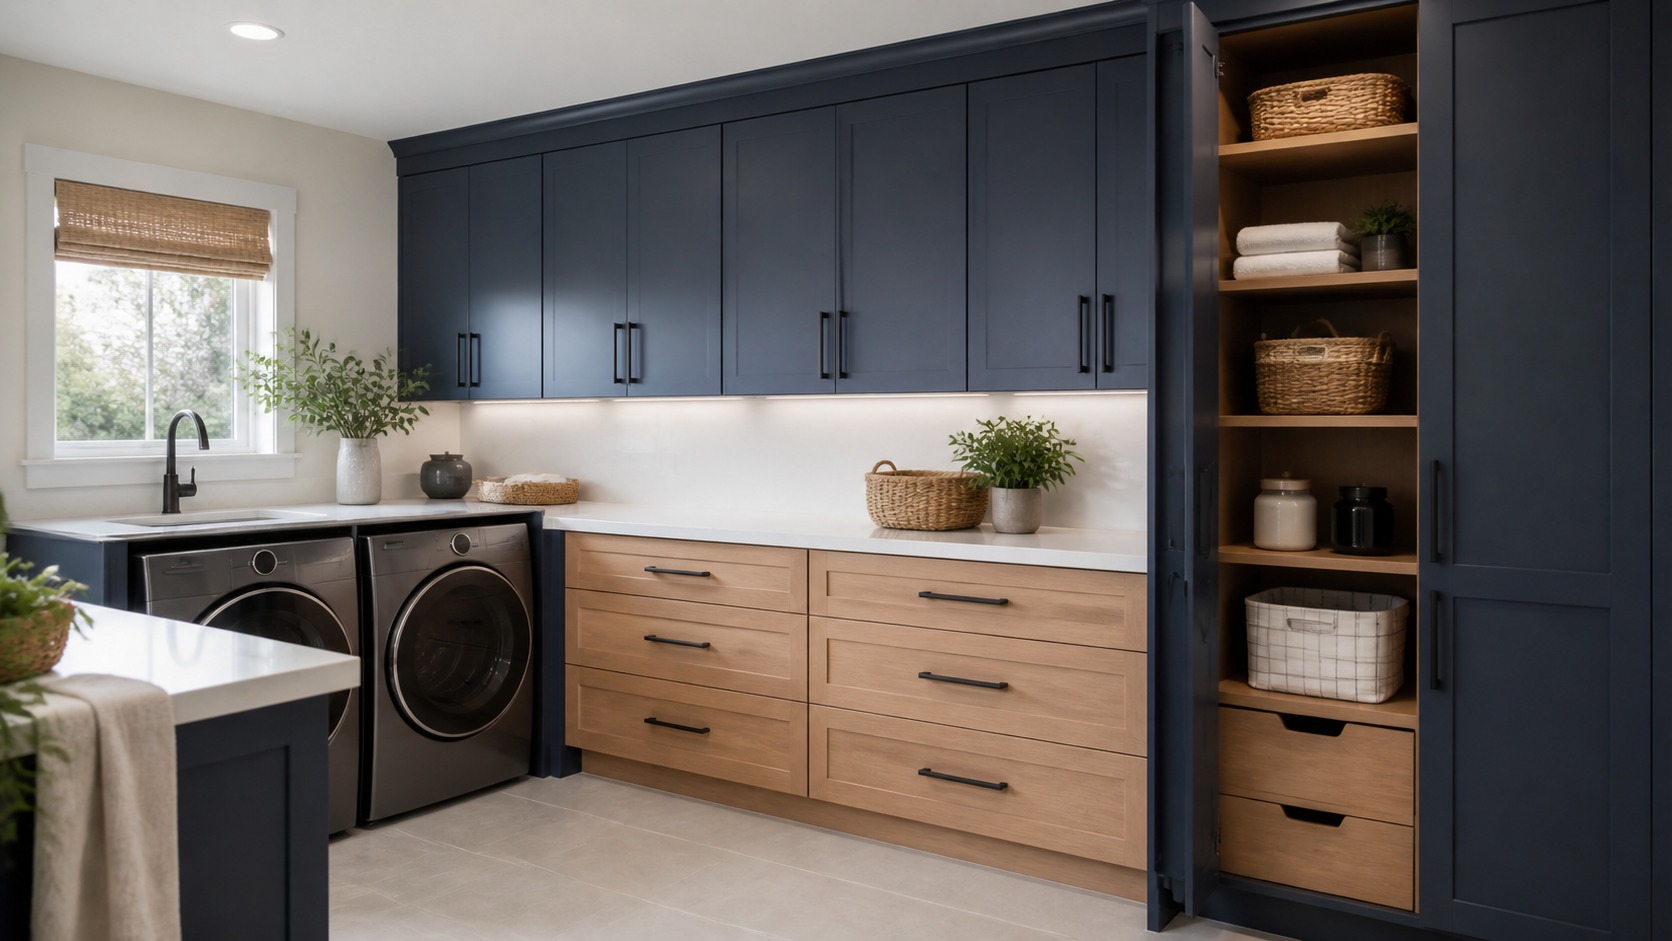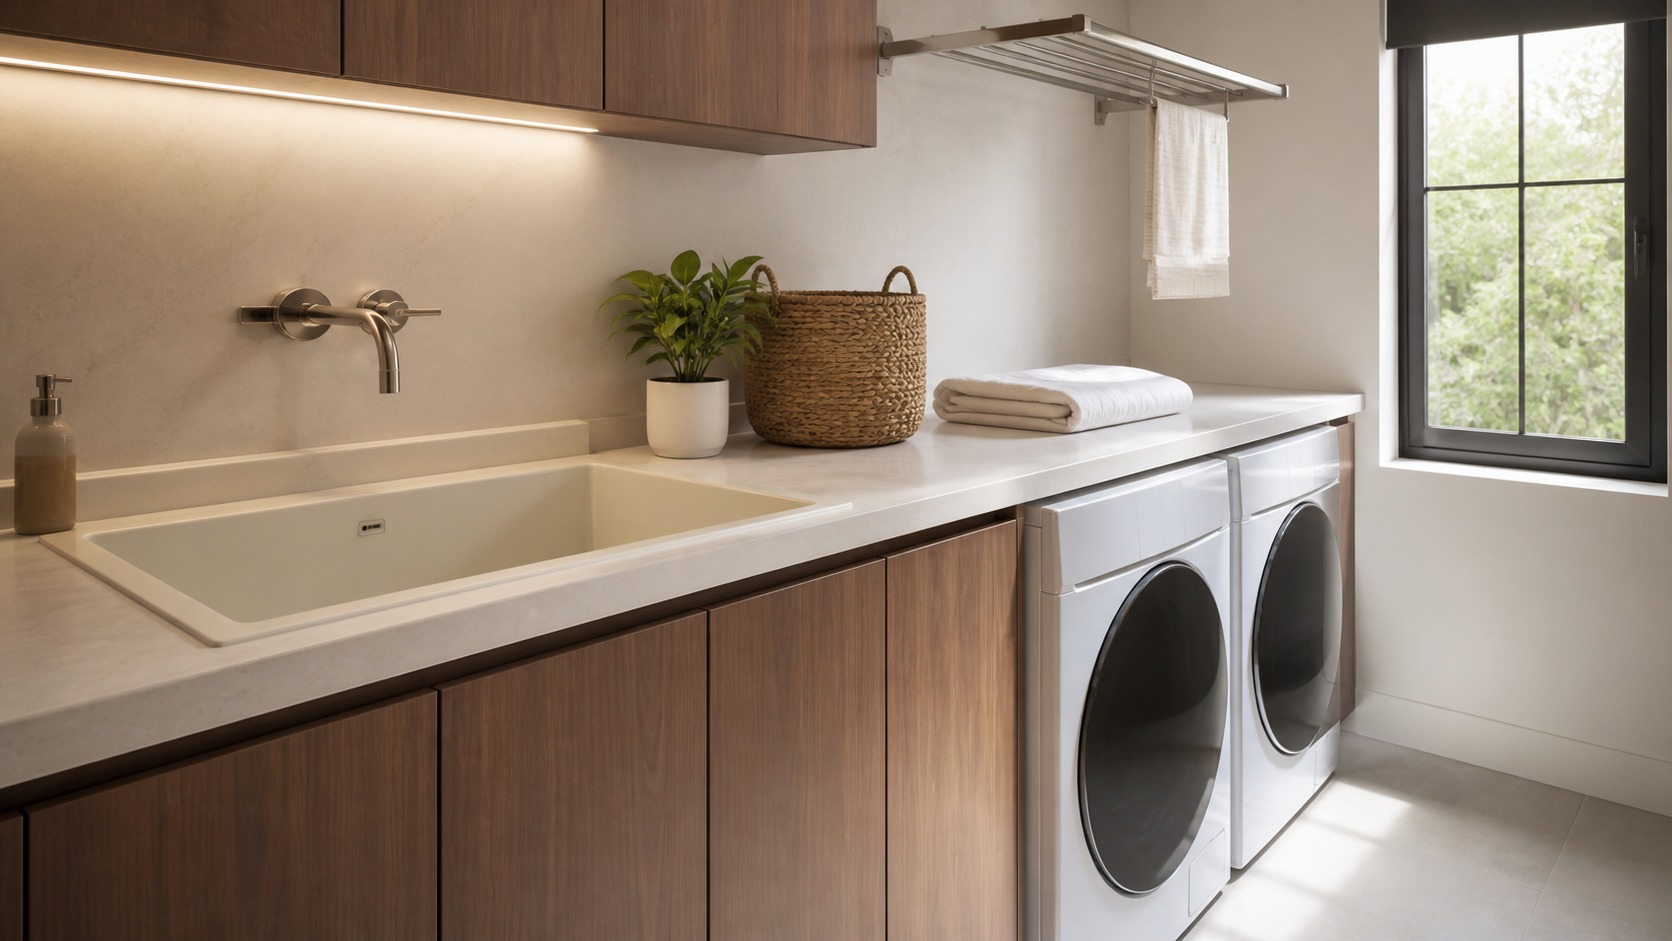
The Best Sink-and-Counter Plan Separates Wet Work From Clean Folding
A laundry sink and a broad counter can transform the room, but only when their dimensions and positions reflect different tasks. The sink handles soaking, rinsing, stain treatment, and messy household work; the counter receives clean garments, supports folding, and provides temporary landing space. If these functions overlap without boundaries, splashes reach folded linens and a large basin consumes the most useful stretch of work surface. Modern design resolves the tension through zoning, durable materials, and clear movement from washer to sink, dryer or rail, and folding area. Plumbing access, faucet reach, appliance vibration, counter support, and user height all shape the solution. A beautiful slab spanning the machines is valuable only if equipment can still be serviced and the surface remains comfortable. Start with what the household actually does at the sink, then protect enough uninterrupted counter for its largest routine load.
A: Choose from the objects and wet tasks it must handle, balanced against counter and cabinet space.
A: Several materials can work; verify the exact surface against moisture, cleaners, heat, seams, and repair expectations.
A: No. It needs independent support plus manufacturer-required clearance and a service-removal plan.
A: Close enough for contained wet transfers, with a useful landing area and no control or door conflicts.
A: No. Excessive depth can reduce storage and create uncomfortable reach for frequent handwashing.
A: Protect the realistic splash width and terminate at deliberate architectural boundaries.
A: Only storage that fits safely around accessible plumbing, protected by moisture-resistant materials and a removable tray.
A: Test users and tasks; kitchen dimensions may not suit deep sinks, raised machines, or seated folding.
A: Yes when the rail carries wet weight, provides airflow, and avoids controls, cabinetry, and clean work.
A: Use appropriate independent supports, removable fillers, and a documented path for pulling each appliance forward.
Write a Wet-Zone Task List
List every expected sink use: handwashing delicates, soaking stained clothing, filling buckets, rinsing muddy gear, cleaning brushes, or bathing small household items. Frequency and object size determine basin depth, faucet reach, splash protection, and nearby storage.
Separate occasional utility uses from daily garment care. A deep sink may be justified for buckets but uncomfortable for frequent handwashing unless its height and faucet are selected carefully. The plan should prioritize recurring tasks without ignoring the messiest ones.
Choose Basin Size From Real Objects
Measure the bucket, sweater, mop head, or pet accessory likely to enter the sink. A wide shallow basin supports handwashing differently from a narrow deep utility tub. Confirm internal dimensions, drain location, and usable depth rather than relying on the outside cabinet size.
Large basins consume cabinet storage and counter width. They also hold more water, which adds weight and may require specific support. Coordinate the sink, cabinet, counter fabrication, and plumbing as one assembly.
Consider edge shape and corners. Tight internal corners can trap residue, while broad radii may reduce flat basin area. Select a surface that tolerates expected cleaners and can be wiped without specialized care.
Place the Sink Near the Washer Without Crowding It
Proximity shortens the route for treated or dripping garments. Leave enough landing space between sink and washer to hold a small basin or item awaiting transfer. Do not let the faucet, cabinet door, or sink user block access to machine controls and detergent drawers.
Protect a Continuous Folding Span
Identify the largest regular item folded in the room and test its footprint. Sheets and towels need width more than small garments do. A continuous counter above front-load machines often provides the most efficient span, while a separate counter can offer better height or seated access.
Keep permanent objects beyond the folding boundary. Locate detergent in a drawer or cabinet, provide a pocket-find tray elsewhere, and give baskets a departure shelf. The clear span should be available without a setup ritual.
Select Counter Material for Exposure
Laundry counters encounter moisture, detergent, stain products, heat from recently dried textiles, and vibration. Quartz, solid-surface material, porcelain slab, sealed stone, stainless steel, and durable laminates each offer different costs, seams, repair options, and chemical limitations.
Review manufacturer guidance for the exact products used in the household. Some stain removers, bleach solutions, or hot tools can damage finishes. A removable treatment mat or tray can protect the wet zone without compromising the entire counter choice.
Edge details affect comfort and cleaning. A simple eased edge is easy to wipe and kind to forearms. Elaborate profiles collect residue, while dramatic waterfall ends can complicate appliance removal if poorly detailed.
Support Counters Without Trapping Appliances
A counter over machines needs independent support that respects equipment clearance and vibration. Side panels, cleats, or brackets may carry the slab, but the system should allow each appliance to move forward for service. Never rest the counter directly on a machine.
Confirm deflection limits and span requirements with the fabricator. Heavy slabs and long openings may need concealed steel or intermediate support. Plan before installation rather than adding a visible leg in the center of a loading area later.
Design the Faucet Around Reach and Splash
The spout should reach useful portions of the basin without directing water against the rim. A pull-down or articulated faucet can help fill buckets, though hoses and moving joints require space and maintenance. Wall-mounted faucets free counter area but demand precise rough-in and future access.
Handle position matters with wet hands. Test whether controls are reachable without leaning across a deep sink and whether hot-water operation is clear. Select a fixture suited to the sink and local plumbing requirements rather than simply matching kitchen hardware.
Keep windows, shelves, and upper cabinets outside the faucet’s operating arc. Backsplash height should reflect actual spray and cleaning, not a decorative minimum.
Make the Sink Cabinet Resilient
Plumbing reduces usable volume and introduces leak risk. Use a removable waterproof tray, moisture-resistant cabinet materials, and accessible shutoffs. A sensor or alarm may add protection where appropriate, but it does not replace inspection and sound installation.
Fit storage around the trap instead of crowding it. Door-mounted gloves or brushes can work if they clear pipes; narrow adjacent pullouts often hold bottles more efficiently. Keep chemicals secured according to product guidance and household needs.
Coordinate Counter Height With Users
Standard kitchen height is not automatically ideal for folding, deep-sink work, or wheelchair access. Test heights with the people who use the room. Folding may feel comfortable at one level while reaching into a deep basin requires another.
A split-height design can solve distinct tasks but introduces seams and visual breaks. A pullout surface may provide occasional lower work area without changing the entire elevation. Include knee clearance and approach space where seated use is expected.
Appliance pedestals also change counter relationships. A counter above raised front-load machines may become too high for comfortable folding, so compare ergonomic benefit at the doors with the resulting work surface.
Use Backsplashes Where Cleaning Demands Them
Tile, solid-surface upstands, or slab backsplashes protect the sink wall and simplify wiping. Extend protection to the realistic splash width, then terminate it at cabinets, corners, or aligned architectural edges. A full-room backsplash is unnecessary when only one area receives water.
Minimize residue-catching transitions. Coordinate faucet penetrations, outlets, and trim before fabrication or tile layout. Keep required electrical protections and clearances around water under qualified professional guidance.
Plan Drying Beside, Not Above, Clean Work
Separate garments by the water they may release. A freshly rinsed sweater needs a contained horizontal surface, while a lightly damp shirt may hang over an open floor zone. Provide a path for drips to return to the sink or a removable tray rather than relying on grout, cabinetry, or folded towels to catch them.
Store drying accessories within one reach of the wet zone. A rack kept behind several baskets will remain open elsewhere, while a rail with no hanger storage creates another counter pile. Treat drying as a complete system that includes setup, airflow, collection, and return.
A rail near the sink supports drip-drying after handwashing, but wet garments should not hang over folded laundry or block the faucet. A removable rack that bridges the basin can support flat items while containing water, provided it is rated and stored conveniently when dry.
Ensure airflow and avoid placing damp fabric against cabinetry. Include hooks or rails strong enough for wet weight, and select finishes that resist corrosion. The drying route should lead naturally toward the washer or departure, not across the main counter.
Keep Countertop Appliances Under Control
Irons, steamers, and compact garment-care devices need outlets, heat-safe landing areas, cord management, and storage. Leaving them permanently on the counter reduces folding capacity. A dedicated cabinet with a pullout surface can contain the setup, but follow ventilation and cooling requirements.
Place outlets so cords do not cross the sink or aisle. Electrical planning near water and high-load appliances belongs with qualified professionals. Do not use decorative cord concealment that creates heat or access problems.
Mock Up the Complete Work Zone
Mark sink edges, counter depth, appliance doors, and faucet reach at full scale. Place a basket, bucket, and folded sheet in the mock-up. Simulate treating a stain, transferring a wet item, and folding a load.
Check the route with cabinet doors open and another person passing. Verify that water can be shut off, plumbing serviced, and appliances removed without damaging the slab. Document counter support and removable panels for future owners.
A successful sink-and-counter design feels generous because each surface has a clear assignment. Wet work remains contained, folding stays dry and open, and every connection can be maintained. That discipline produces a room that is both refined and genuinely useful.
Use the Counter Edge to Define Zones
Material and level changes can clarify wet and dry work, but they should not create difficult seams. A short integral upstand beside the sink, a removable tray aligned with the basin, or a subtle break at a cabinet side can signal the transition. Avoid grooves and joints where detergent collects. If two counter materials meet, confirm compatible support, thickness, movement, and edge finishing with both fabricators. The visual cue should simplify use while preserving a broad, wipeable plane.
Budget for the Invisible Components
The sink and slab are only part of the cost. Include cabinet reinforcement, plumbing relocation, faucet valves, drain and vent work, backsplash preparation, outlet changes, counter templates, seams, supports, delivery, and appliance disconnection. Clarify who cuts openings and who accepts responsibility for final sink fit.
Ask how the assembly will be repaired. Integrated sinks can look seamless but may require a larger replacement if damaged; tiled counters have different grout maintenance; natural stone may need sealing; laminate edges demand careful moisture control. Match the maintenance burden to the household rather than selecting from appearance alone.
Retain sink, faucet, counter, sealant, and support specifications with photographs taken before cabinets close. Mark shutoffs and removable sections. When a leak, appliance replacement, or faucet repair occurs, accurate records can prevent exploratory demolition and keep a well-planned work zone useful for decades. Before final approval, review the room during a realistic overlap: one item soaking, a clean load waiting to fold, and another person opening the dryer. The sink user should not trap the appliance door, water should remain outside the clean work span, and baskets should have temporary positions that do not block the aisle. Confirm that the faucet can fill the tallest expected container and that the basin can drain while a rack or insert is in use. Then perform a maintenance rehearsal by locating shutoffs, removing the under-sink tray, and describing how each machine leaves the opening. This final test turns attractive dimensions into a dependable sequence. It also reveals whether the project has created truly separate wet and dry capacity or merely placed two large features beside one another. A modern sink-and-counter room earns its space when both zones can operate simultaneously, clean up quickly, and remain accessible when equipment or fixtures need attention. Clean separation also makes maintenance easier because residue, moisture, and fabric lint can be addressed within the zones where each originates.