
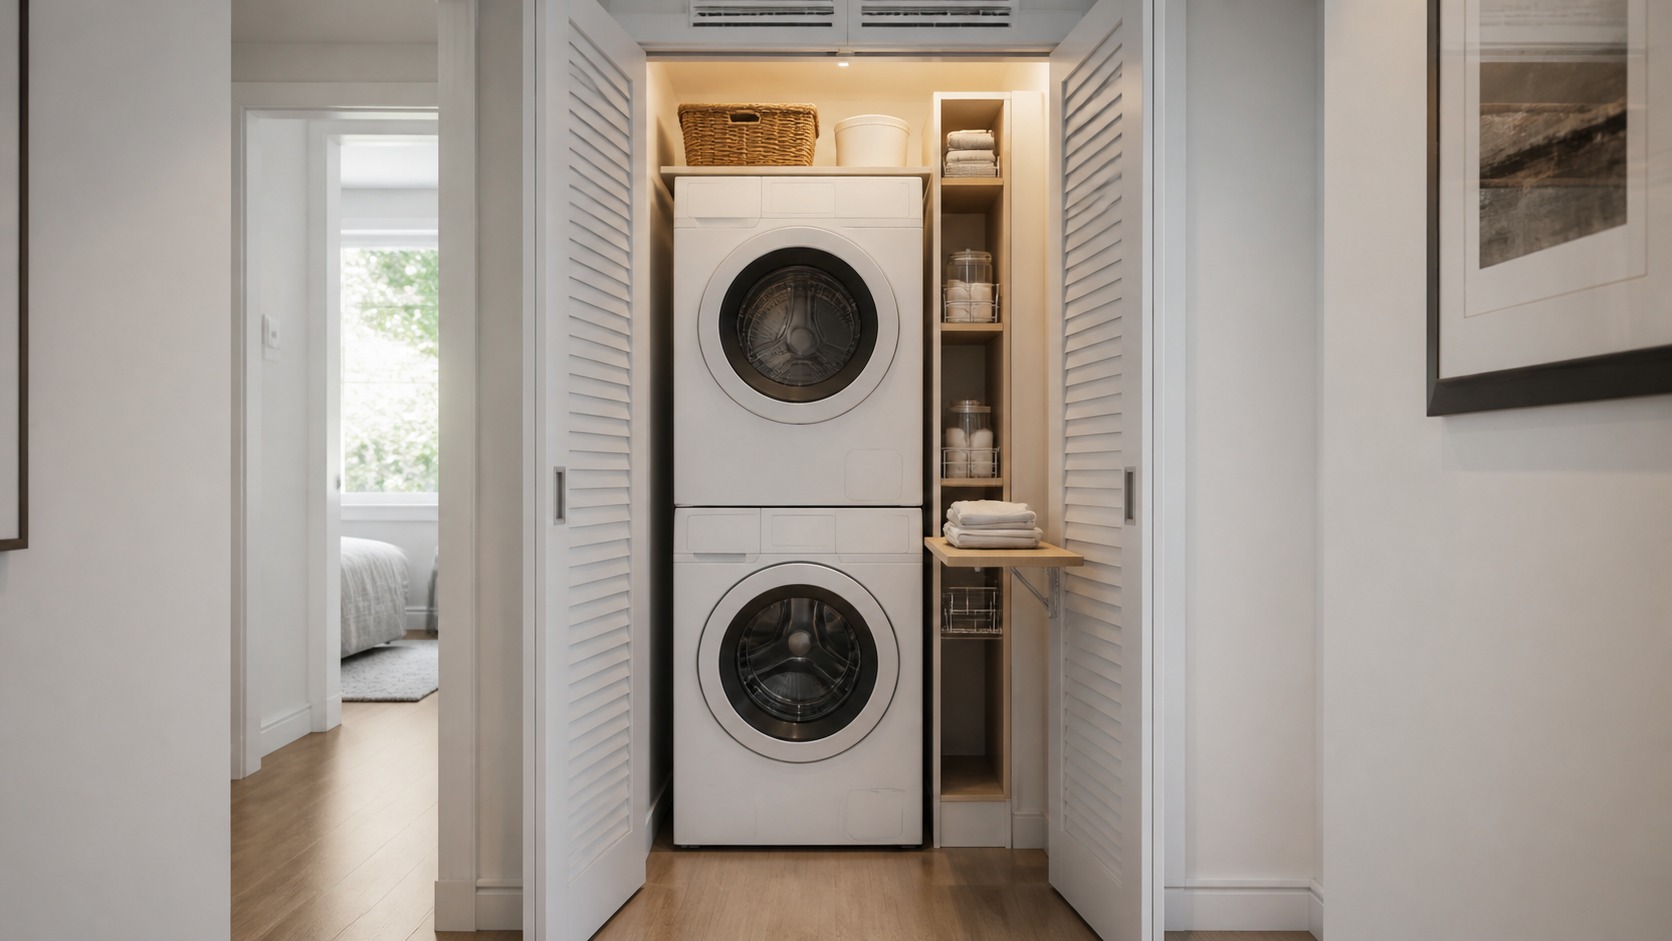
A Laundry Closet Is an Equipment Enclosure Before It Is a Styled Niche
A tiny laundry closet can disappear neatly into a hallway, kitchen, or bathroom wall, but its compactness concentrates heat, moisture, vibration, plumbing, electrical connections, and service needs. Successful design starts by respecting the selected machines and the enclosure requirements around them. Doors must open without trapping appliance doors, ventilation must suit the equipment, shutoffs need immediate access, and the entire unit must be removable when service is required. Storage is valuable only after those conditions are protected. A stacked pair may free a narrow side strip for detergent; a shelf can hold light backstock; a fold-down ledge can provide temporary sorting. Yet every added panel consumes clearance. Modern closet design feels clean because details are measured and utilities are resolved, not because working parts are sealed away. Treat the opening, equipment, doors, and surrounding hallway as one coordinated system.
A: Requirements depend on the selected equipment and site; follow manufacturer instructions and applicable professional guidance.
A: They save swing area but can narrow side access, so test them with controls, shutoffs, and machine doors.
A: Use only approved storage locations that preserve ventilation, service, and safe retrieval.
A: A nearby designated surface or safe fold-down ledge usually works better than crowding the enclosure.
A: Ventless does not mean unrestricted; comply with its heat, airflow, clearance, and enclosure specifications.
A: Start with level equipment, sound floor support, correct stacking, balanced loads, and an enclosure that preserves ventilation.
A: A removable slim pullout, short rail, or compact caddy may fit after all required clearances are protected.
A: No when doing so removes safety information, dosing guidance, identification, or secure closures.
A: Accessible shutoffs, approved connections, appropriate pans or drainage, inspection, and optional sensors provide layered protection.
A: Removable fillers create a finished opening while retaining the full width needed for service and replacement.
Select the Appliance Before Finalizing the Opening
Compact, full-size, vented, ventless, stacked, and all-in-one machines have different dimensions and service needs. Record total depth with hoses, plugs, vent elbows, doors, and stacking hardware. Confirm control height and the reach required to load the upper unit.
Keep tolerance for installation and future replacement. An opening tailored to one model may reject the next available machine. Use removable trim or fillers to create a finished appearance without reducing the structural opening permanently.
Follow Ventilation Requirements Precisely
Heat and moisture can accumulate quickly behind closed doors. Follow appliance manufacturer instructions, local requirements, and qualified professional guidance for door louvers, transfer air, exhaust, clearances, and room ventilation. A ventless dryer still releases heat and may have enclosure specifications.
Do not treat decorative gaps as proven airflow. Free-area calculations, grille locations, and return-air paths matter. Keep lint from blocking louvers and inspect them as part of routine cleaning.
If the closet sits in a bathroom or another humid space, whole-room exhaust and material selection deserve additional attention. Condensation on doors or walls is a condition to solve, not conceal.
Choose Doors From Their Open Position
Bifold doors reduce swing but stack at the sides and can narrow access to machine controls or shutoffs. Paired doors provide a broad opening but need hallway clearance. Pocket doors disappear when open, though their wall cavities affect structure, wiring, plumbing, and cost.
Keep Appliance Doors and Closet Doors Independent
Test the washer, dryer, and closet doors together. Users should be able to transfer a load without holding one door out of the way. Confirm whether appliance doors are reversible and specify the correct handing before delivery.
Door stops and pulls should not strike appliance fronts. Ventilated doors need durable details that tolerate cleaning and do not create sharp edges in a narrow passage.
Use Stacking to Create a Functional Side Strip
A stacked pair may leave enough width for a slim pullout, hanging rail, or vertical storage. Measure the remaining finished gap after required machine clearances; do not assume nominal closet width becomes usable cabinet space.
Keep side storage removable when it affects hookups or machine extraction. A narrow rolling cart can work in some installations, but it must remain stable, avoid cords and hoses, and stay outside ventilation paths.
Store only active supplies in the strip. Bulk containers can exceed its depth and make retrieval awkward. Secondary storage elsewhere may be safer and more efficient.
Place the Shelf Where It Can Be Reached Safely
A shelf above stacked equipment may be too high for daily products and can interfere with service. Use it for lightweight infrequent items only when users can retrieve them safely. Never climb on machines or improvised objects.
With side-by-side compact units, a shelf or cabinet above can be more reachable. Preserve lid operation for top-load equipment and keep stored items from falling onto vibrating machines.
Add Temporary Work Surface Without Blocking the Hall
A fold-down ledge inside the closet or on an adjacent wall can support a small basket or stain treatment. Its open position must not obstruct the required hallway width, entry door, or appliance access. Use hardware rated for the load and mount it to proper structure.
A pullout board above a drawer can provide a smaller landing without occupying wall space. Keep it outside wet drip paths and return it before closing closet doors.
Most folding may still happen elsewhere. Design an efficient carry-out routine rather than forcing a full laundry room program into a shallow enclosure.
Protect Against Leaks and Preserve Shutoff Access
Use approved hoses, correct connections, and a drain-pan or floor strategy appropriate to the site and local requirements. Place shutoffs where they can be reached immediately without pulling the washer out. A leak sensor can add warning but cannot replace accessible valves and inspection.
Do not cover hose boxes with fixed shelving or decorative panels. Photograph connections and keep appliance service information nearby but outside the damp enclosure.
Manage Sound and Vibration at the Source
Closets often share walls with living or sleeping spaces. Verify floor support, level machines correctly, use approved stacking components, and address imbalance promptly. Door seals and wall assemblies may reduce sound, but ventilation must not be compromised.
Avoid storing loose metal objects where vibration causes rattling. Secure shelf contents and use washable liners that do not trap heat. Check hoses and cords for rubbing against enclosure walls.
Choose equipment sound performance with location in mind. A quiet machine may deliver more value than extra decorative storage in a hallway installation.
Install Lighting That Works With the Doors Open
Provide bright, even illumination inside the opening so controls, stains, and connections are visible. A ceiling or jamb-mounted fixture should remain unobstructed by stacked doors and shelving. Shield light from glare at eye level.
Automatic door-activated lighting can be convenient when correctly installed, though a manual override may be useful. Coordinate electrical work with required clearances and qualified professionals.
Use Moisture-Tolerant Interior Finishes
Paint and panels inside the closet should be washable and appropriate for expected humidity. Protect vulnerable cabinet edges and avoid thick decorative treatments that steal clearance or complicate machine removal.
A light interior color improves visibility, but it will not correct poor lighting or ventilation. Choose flooring that tolerates likely moisture and allows appliances to roll out without a high lip.
Keep trim simple and removable. Finishing pieces should conceal tolerances while revealing the full opening when service begins.
Organize Supplies by Risk and Frequency
Store daily products in reachable secured locations suited to the household. Keep chemical labels, dosing directions, and child-resistant closures intact. Do not decant merely to make the small opening look uniform.
A magnetic or wall-mounted caddy must not interfere with machine ventilation, vibration, or finish. Shallow door storage can work only when it clears equipment and does not overload hinges.
Plan the Carry-Out Route
The closet rarely contains enough area for sorting and folding, so baskets need a clear route to another surface. Provide a nearby shelf, console, or dedicated basket position outside required circulation. Avoid leaving clean loads on the hallway floor.
Keep one basket sized to the machines rather than several oversized hampers. Incoming laundry can sort in bedrooms or a nearby system, reducing clutter at the enclosure.
The best laundry closet performs a focused role: safe washing and drying with efficient supply access. By accepting that limit, the design can remain clean, ventilated, and easy to service instead of becoming a tiny room packed beyond capacity.
Coordinate Fire and Building Assemblies
A laundry closet may sit within a rated corridor, multifamily separation, garage boundary, or other regulated assembly. Door type, penetrations, exhaust routing, wiring, and wall alterations can affect that protection. Do not cut new vents, pocket-door cavities, or recessed storage until the assembly and local requirements are understood. Use qualified professionals and approved components for penetrations. Sealants, grilles, and access panels must do more than match the paint. The enclosure’s invisible performance may be more important than the few inches a decorative modification would gain.
Design for Condominium and Rental Constraints
Shared buildings can impose appliance types, drain pans, leak sensors, shutoff devices, exhaust routes, work hours, and approval procedures. Confirm association, landlord, insurance, and permit requirements before selecting equipment or altering utilities. A neighbor’s unit may sit directly below, raising the consequence of a small leak.
Renters should avoid structural mounting or utility changes without written authorization. A removable supply caddy, freestanding narrow shelf approved for clearances, and disciplined basket routine can improve use without changing the enclosure. Never block required ventilation with temporary organizers or curtains.
Prepare for Upper-Unit Maintenance
Stacked equipment makes the dryer and its connections harder to reach. Ask how the selected units separate, how many technicians are required, where the upper machine can be placed safely, and whether the hallway provides maneuvering room. Shelves, door tracks, and ceiling fixtures should not interfere with lifting. Keep the approved stacking kit visible in records and inspect the installation if unusual movement develops. Do not improvise a platform or stack machines not designed for that configuration. Future service should be possible without damaging adjacent walls or exposing workers to an avoidable handling problem.
Commission the Closet Before Routine Use
After installation, run the machines while the closet is open and then in the door position permitted by manufacturer guidance. Observe heat, vibration, noise, drainage, and door movement. Check hoses and the vent for strain as the machines operate. Verify that the light reaches controls and that shutoffs remain accessible.
Then load the storage exactly as planned. Confirm supplies do not fall, rattle, obstruct louvers, or press against cords. Practice removing the side pullout and any filler needed for service. Keep photographs, model information, clearances, and professional documentation together. Commissioning catches conflicts while installers can still correct them and turns a carefully measured niche into a dependable household appliance zone. Establish a maintenance calendar suited to the installed equipment and building. Clean filters and exhaust components as directed, inspect supply hoses and drain connections, vacuum accessible lint, test leak devices, and confirm door louvers remain open. Watch for new condensation, odors, heat, discoloration, or vibration, because the enclosure can hide early warning signs when it stays closed. Keep the closet free from unrelated storage, especially paper goods, aerosols, and objects that press against machines or block airflow. When a replacement is needed, repeat the original measurement process instead of assuming the old opening guarantees compatibility. Compare connection locations, door projection, control reach, energy and ventilation requirements, stacking approval, and service procedure. A tiny laundry closet remains safe and modern through attentive operation as much as through careful design. Its success is measured by reliable cycles, quick emergency access, and an uncluttered hallway—not by how completely the equipment disappears behind closed doors. Teach every regular user how to open the shutoffs and where lint, filters, and drainage require attention. Keep the hallway clear during operation and never prop ventilated openings with stored objects. If doors begin to bind, heat increases, or cycles leave unusual moisture, investigate promptly rather than treating the enclosure as decorative furniture. The closet’s small scale makes consistent observation especially valuable, because changes are noticed quickly when users know what normal operation feels like.


